
Last updated November 2, 2026
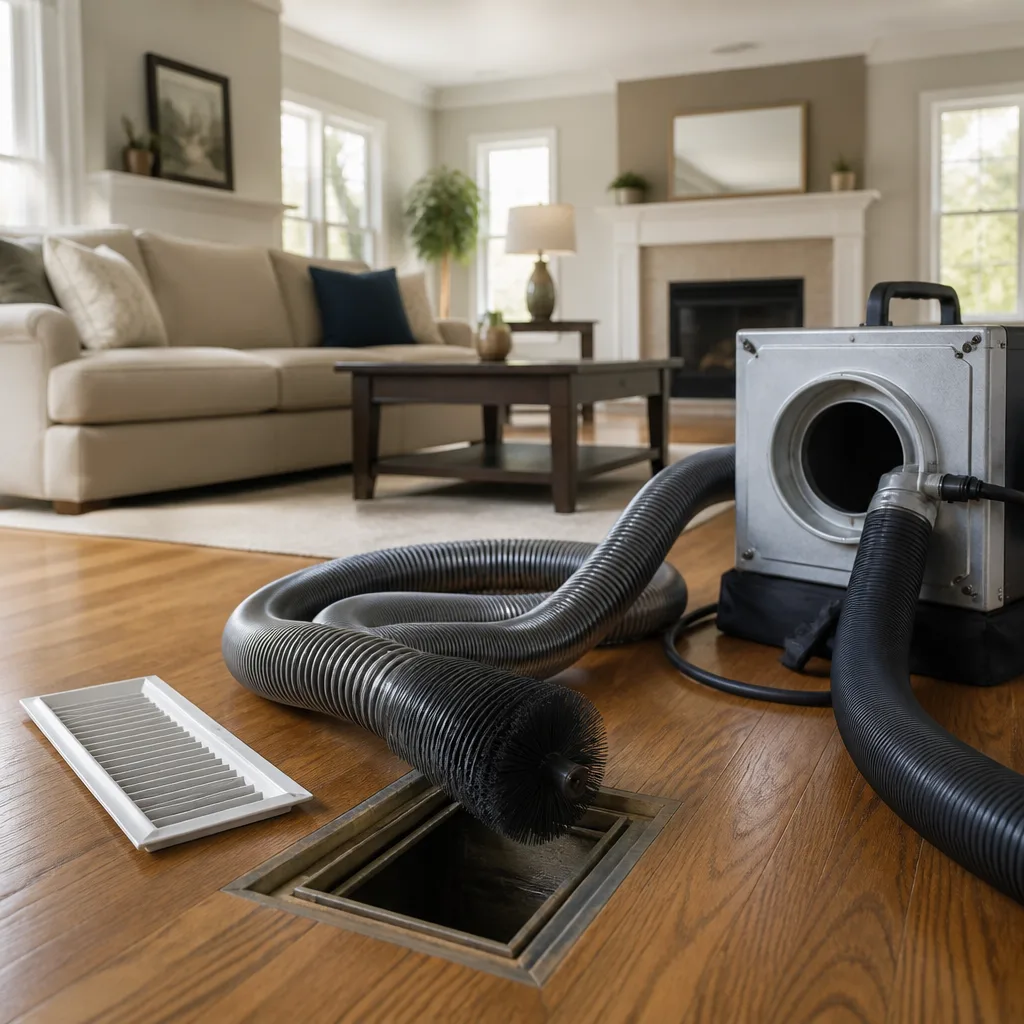 Whole-home duct cleaning
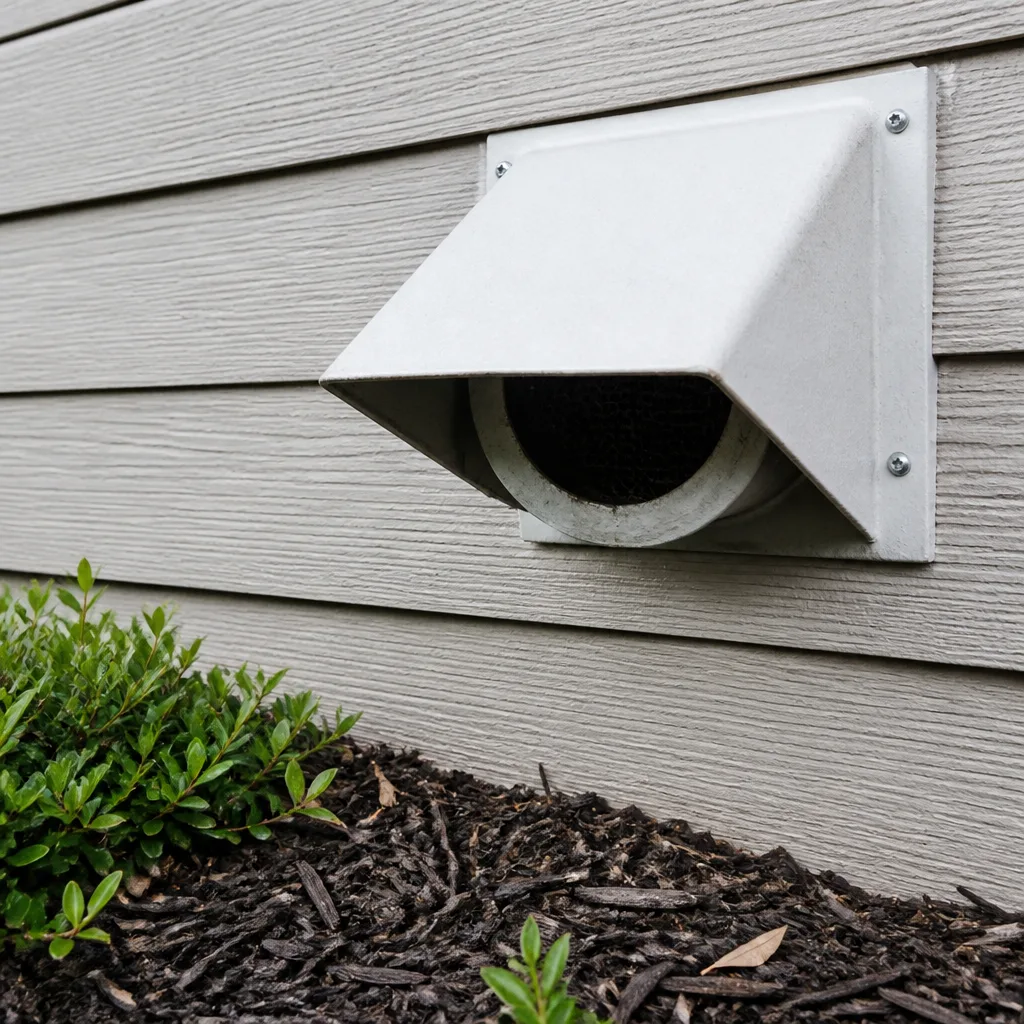 Dryer vent cleaning
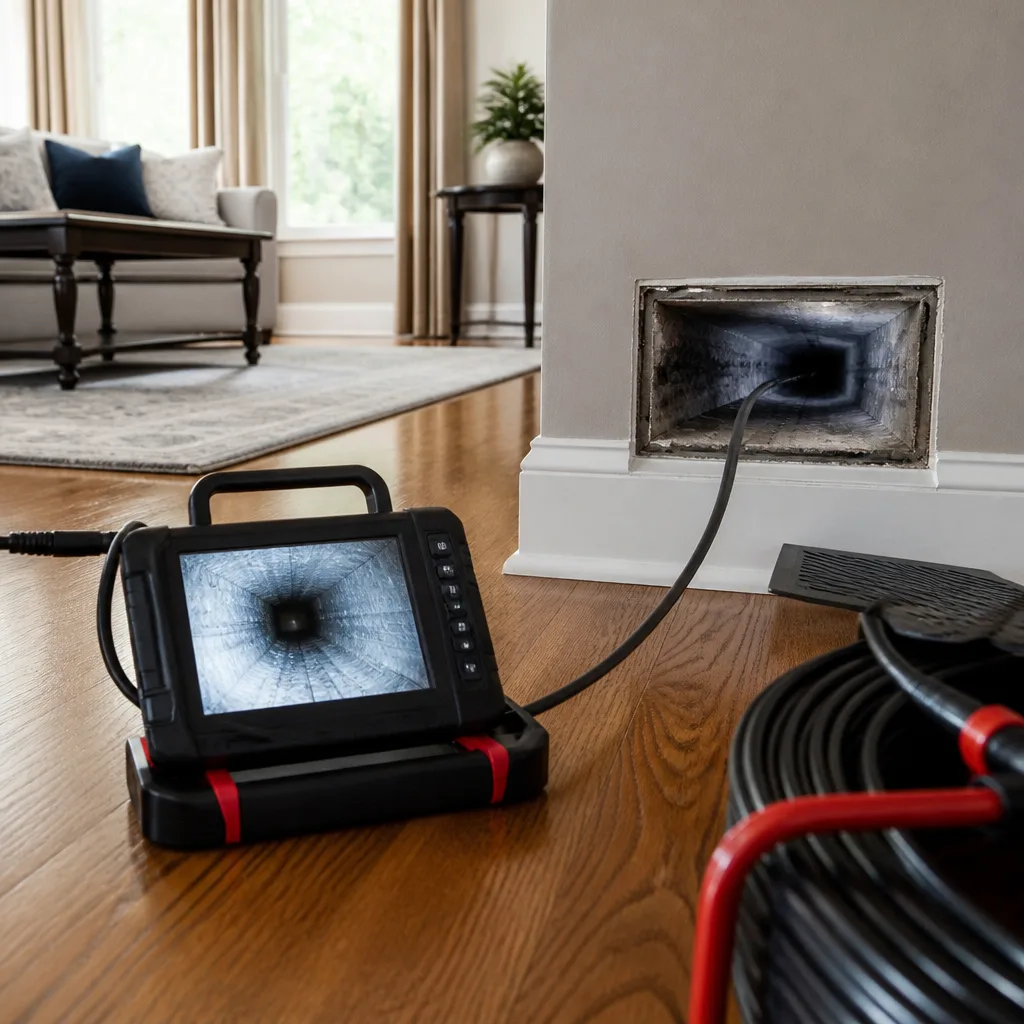 Camera inspection
 Sanitizing & deodorizing
Whole-system duct and dryer vent check with before-and-after photos - you see exactly what came out of your vents
That "$99 whole-house special" is a bait ad - the real number appears once they are in your hallway, or the "clean" is a shop-vac at the register. We photograph the inside of your ducts before and after instead.
Air Duct Cleaning Troubleshooting: Common Problems and How to Fix Them
You paid for Air Duct Cleaning. You expected less dust on the furniture, fewer allergy flare-ups, and a home that finally stopped smelling like a damp crawlspace. Two weeks later, the symptoms haven’t budged. Here’s the thing that most duct-cleaning companies in Pocket won’t tell you: the ducts are rarely the whole story. In our experience, when symptoms persist after a competent cleaning, the real problem is usually a leak, a contaminated coil, or a return-air breach that the cleaning never touched. This guide walks through the most common post-cleaning complaints we hear from homeowners across Pocket and South Sacramento, and explains how to tell whether you need another cleaning, a repair, or something else entirely.
Styles & brands we work with
- Whole-home duct cleaning
- Dryer vent cleaning
- Camera inspection
- Sanitizing & deodorizing
Quick Answer
If Air Duct Cleaning Warning Signs: A Pocket Homeowner’s Reference Guide made you think cleaning would solve your dust, allergy, or odor problem, don’t schedule another cleaning yet. Persistent symptoms typically point to one of three culprits: a disconnected or leaking duct section, a contaminated evaporator coil or drain pan, or a return-air pathway pulling air from an attic or crawlspace. Each requires a different fix, and only one of them is solved by more cleaning.
Table of Contents
- Why Duct Cleaning Sometimes Doesn’t Fix the Problem
- Duct Contamination vs. Coil and Drain Pan Problems: How to Tell
- Disconnected or Crushed Flex Duct: The Airflow Culprit Nobody Sees
- Why a Cleaned But Leaking Duct System Still Pollutes Your Air
- Tracking Down a Musty Smell: Supply Ducts, Return Ducts, or the Air Handler
- When a Second Cleaning Makes Sense (and When It Doesn’t)
- Return-Air Breaches: The Pocket Crawlspace Problem
- Dust Returning Too Fast? The Role of Filtration and Static Pressure
- Common Mistakes to Avoid
- When to Call a Professional
- Frequently Asked Questions
- The Bottom Line
Why Duct Cleaning Sometimes Doesn’t Fix the Problem
Air duct cleaning removes settled debris from the interior surfaces of your ductwork. That’s what it does. A rotary-brush system like the Rotobrush equipment we run agitates caked-on dust from duct walls while negative air pressure pulls it into a collection system. It works well for what it’s designed to do. But duct cleaning cannot repair a separated joint, seal a pinhole leak, clean an evaporator coil, or fix a return plenum that’s pulling attic air. If any of those conditions exist in your Pocket home, the ducts will simply refill with the same contaminants you paid to remove. That’s why we treat cleaning, inspection, and repair as inseparable parts of the same service visit. Your duct system is only as clean as the repair it needs.
What duct cleaning actually removes
- Accumulated dust, pet hair, and construction debris inside duct walls
- Loose particulate that breaks free during renovation or after years of deferred maintenance
- Light microbial growth on accessible duct surfaces within a foot or so of the register
What it does not address
- Leaks, disconnected sections, or crushed flex duct
- The evaporator coil, blower wheel, or condensate drain pan inside the air handler
- Return plenum gaps pulling unfiltered air from the crawlspace or garage
- Ongoing moisture sources feeding mold growth in duct interior liners
The Pocket climate makes this distinction particularly relevant. Summers here push 100°F and your AC runs for months straight. That constant airflow spreads whatever enters the duct system everywhere. If there’s a breach between the return side and a dirt crawlspace, no amount of cleaning will stop dust from coating your registers within weeks.
Why dust returns so quickly after cleaning
Homeowners often tell us they saw a difference for a week or two, then the dust returned. That pattern points to an entry point, not residual buildup. Dust doesn’t regenerate. It enters through gaps. In Pocket’s older subdivisions, where homes date to the 1970s and 1980s, return ducts often run through framing cavities rather than dedicated sheet metal. The ductboard or drywall return chases deteriorate, and the system starts pulling unfiltered air from wall voids, crawlspaces, or the garage. A rotary-brush cleaning won’t touch that problem, because the problem isn’t inside the duct.
Check your filter housing. If the filter sits loosely in a slot built for a different size, the system bypasses filtration entirely. We see this constantly: a homeowner buys premium pleated filters, but air simply goes around them through a half-inch gap at the housing edge. You can verify this yourself by checking for dust streaks on the blower side of the filter slot. Streaks mean bypass. Bypass means dust returns in days, not months.
What to check before calling for another cleaning
- Remove a supply register in the room with the worst dust accumulation. Look inside the duct with a flashlight. If the duct walls look clean but the register and room still collect dust, the source is upstream.
- Check the filter housing for gaps, cracks, or a filter that doesn’t seat flush.
- Inspect the return grille. If it’s pulling air from a garage wall cavity or a crawlspace chase, turn off the HVAC, open the grille, and inspect what’s behind it.
- Walk the accessible duct runs in the attic or crawlspace if you’re able. Look for sagging flex duct, crushed sections under stored boxes, or joints that have separated.
If the duct walls are clean three months after a cleaning but dust persists, the system has an entry point. Call a company that can repair what it finds rather than one that will simply vacuum again. That’s the difference between Purevent Air Duct Cleaning home and a one-visit cleaning crew. We clean, inspect, and repair in the same visit.
Duct Contamination vs. Coil and Drain Pan Problems: How to Tell Them Apart
The two conditions produce nearly identical symptoms: musty odor when the AC runs, allergy flare-ups in summer, and reduced airflow. But they require completely different fixes. Duct contamination lives in the ductwork. Coil and drain pan contamination lives inside the air handler itself. You cannot clean a coil by cleaning the ducts, and you cannot clean ducts by treating a coil. Knowing which problem you have is the difference between a $500 fix and a $3,000 mistake.
The evaporator coil: where moisture meets dust
Your evaporator coil sits inside the air handler or furnace cabinet. It’s cold when the AC runs, and condensation forms on its surface. That’s normal. What’s not normal is when that condensation lingers for weeks because the drain pan drains slowly or the coil stays wet long after each cycle. Dust sticks to wet coils. Add the warmth inside the cabinet and you have exactly the environment that supports microbial growth. The result is a damp-sock smell that many homeowners in Pocket mistakenly attribute to dirty ducts.
If your home smells worse when the AC first kicks on, then fades after a few minutes, think coil. If the smell is constant regardless of whether the system runs, think ductwork. That single observation can save you from the wrong service call.
Three tests you can do yourself
- The cycle test: Run the AC continuously for 20 minutes. Then switch the thermostat to fan-only for 10 minutes. If the smell disappears during fan-only and returns when the cooling resumes, the problem is the wet coil or drain pan, not the ducts.
- The register check: Remove one supply register near the air handler and one far away. Shine a flashlight into each. If the near register shows dust and debris caked on the duct walls but the far one looks cleaner, the contamination is making its way downstream from the equipment.
- The filter inspection: Pull the filter and inspect the blower side. If the blower wheel or the filter frame shows black or dark gray growth, the coil above is likely contaminated. Condensation dripping onto a dirty blower wheel creates that pattern.
If you confirm a coil problem, you need a coil cleaning, not a duct cleaning. Some HVAC contractors handle that. Purevent doesn’t position itself as a general HVAC contractor, but our full-system approach means we can tell you when the problem is the coil and refer you correctly rather than running our Rotobrush through ducts that are already clean. That’s the honest answer, and it’s the one you’ll get from us.
Drain pan issues specific to Pocket summers
Pocket runs its AC from May through October. That’s a long season for a drain pan. When the drain line clogs, water backs up into the pan, which is typically located in a dark cabinet above or below the fan. The pan holds water, dust collects in the water, and within weeks it becomes a biological soup. Every time the air moves across it, that smell travels through the supply ducts. Cleaning ducts won’t help because the source is the pan, not the ductwork.
If you see water stains on the cabinet exterior, a wet filter, or an AC that trips off occasionally despite a clean filter, suspect the drain. It’s a $200 fix, and it solves the odor completely. We’ve had Pocket customers spend more than that on a second duct cleaning that accomplished nothing for a smell being produced inside the equipment cabinet.
Disconnected or Crushed Flex Duct: The Airflow Culprit Nobody Sees
Flex duct is exactly what it sounds like: flexible insulated tubing, typically silver or gray, that connects hard duct trunks to individual registers. It’s ubiquitous in Pocket’s residential construction. It’s also fragile. A single separated joint can dump 20 to 30 percent of your conditioned air into the attic or crawlspace. The rooms downstream starve, and the homeowner notices weak airflow or uneven temperatures. When airflow complains persist after a duct cleaning, the cause is almost never the cleanliness of the ducts. It’s the integrity of the connections.
What a disconnected or crushed duct looks like
From your living room, you can’t see it. From inside the duct at the register, you might. Pull a supply register in the room that never cools properly. Shine a bright flashlight back as far as the light reaches. A connected, intact duct looks like a smooth, round tunnel. A disconnected joint shows as a gap or a section where the inner liner is torn away from the outer insulation, flopping inward. Sagging bands of flex duct that dip below the register level are another sign. In Pocket attics, where summer temperatures hit 140°F, the plastic inner liner and the foil outer jacket separate over time. The inner liner collapses or pulls out of the takeoff collar, and the system simply blows air into the insulation.
Crushed flex duct: mostly a storage problem
We find crushed flex duct in at least a third of the Pocket attics we inspect. The cause is simple: someone stored luggage, a Christmas tree, or a disassembled crib directly on the duct runs. Flex duct is not load-bearing. A single heavy box can compress a 7-inch duct to a 2-inch sliver virtually permanently. The rooms downstream of that duct get weak, warm air, and the homeowner complains that the cleaning made things worse, when really the cleaning just made the airflow problem obvious for the first time.
Repairing a crushed section of flex duct usually means replacing that run. It’s rarely expensive, but it requires attic access and a willingness to actually do the work. That’s why Air Duct Repair in Pocket is on our service menu. Most duct-cleaning companies will point at the problem and leave. We fix it before we finish the job.
How to inspect for disconnected ducts from the register
- Turn off the HVAC at the thermostat. Working around a running blower makes inspection harder and can pull dislodged material back into the system.
- Remove the supply register with a screwdriver. Most registers in Pocket homes are held by two screws or simply friction-fit.
- Shine a flashlight into the duct and look for gaps, tears, or collapsed inner liners. Check that the inner liner is fully seated into the metal takeoff collar.
- Listen for a hiss or whistle when the system runs. That sound is air escaping through a leak path, not the normal sound of airflow through the register.
Why a Cleaned But Leaking Duct System Still Pollutes Your Air
Imagine cleaning the inside of your house thoroughly, then leaving a window open for a month. That’s what a leaking duct system does. Duct sealing is the step that most cleaning companies skip because it requires skill, materials, and time. But without it, the duct system remains an open pathway for whatever lives in your attic, crawlspace, or wall cavities. The return side is especially critical because return ducts run under negative pressure. A leak on the return side doesn’t just lose air. It actively pulls air in from wherever the leak happens to be.
If a return duct runs through a crawlspace and has a gap in the elbow, that gap is now pulling crawlspace air into your system 24/7. Crawlspace air in Pocket carries dust, insulation fibers, rodent activity, and whatever moisture exists under the house. It goes straight through the filter if the filter is upstream of the fan, which it usually is. The result is a home that smells musty and collects dust within days of cleaning, because the crawlspace is replenishing the supply every hour the fan runs.
The return-side problem in Pocket construction
Older Pocket homes frequently use wall cavities or panned floor joists as return air chases. Builders in the 1970s and 80s did this to save money on metal duct. Over decades, the drywall seams crack, the metal pans rust, and the chase fails. We’ve seen return chases that are effectively open to the garage or attic. The homeowner believes the system draws air from the hallway grille. In reality, it’s drawing most of its air from inside the wall and the garage. Duct tape and drywall mud don’t stop that. The fix is a sealed metal or flex duct liner installed inside the chase, or a dedicated metal return line. It’s invasive work, but it’s the only fix that stops the contamination at the source.
Sealing materials that actually work
- Mastic sealant: A thick, painted-on compound that remains flexible and bonds to metal, flex duct collars, and plenums. It’s the industry standard for permanent duct sealing.
- Foil-backed tape: Rated UL 181 for duct seams. This is not the gray cloth tape from the home store. Accept no substitute.
- Draw bands and zip ties: For reconnecting flex duct to collars. A loose flex joint can’t be sealed with mastic alone; it must be mechanically secured first.
None of this is DIY-friendly in a 140°F Pocket attic. The work requires shimming across joists, wearing a respirator, and working in extreme heat. We use professional-grade sealing materials and carry them on every service truck because we expect to find leaks on most jobs. In our experience, roughly half the homes in Pocket have at least one significant duct leak that no prior cleaning visit has ever addressed. That’s why Air Duct Cleaning in Pocket through Purevent includes a full-system inspection as part of the service, not as an add-on.
Tracking Down a Musty Smell: Supply Ducts, Return Ducts, or the Air Handler
A musty smell that won’t go away is the single most common reason Pocket homeowners call us after a previous cleaning. The first question we ask: does the smell come from the vents, or does it exist in the house? The second: does it get worse when the system runs? You’d be surprised how many homes have a musty-smelling closet or crawlspace access that has nothing to do with the HVAC. Here’s the methodical way to find the source using nothing but a flashlight and a damp paper towel.
Step 1: Does the smell come from the blower or the ducts?
Switch the thermostat to fan-only and go room to room. Hold your hand over each supply register. If the smell increases near a specific register, that branch run is contaminated. If you smell it everywhere the moment the fan starts, the source is likely the air handler, the return plenum, or the main trunk.
Step 2: The damp paper towel test
Remove a supply register in the smelliest room. Wipe the interior duct surface with a damp white paper towel as far as your fingers can reach. Press the towel against the duct wall and rotate. Remove it and look. If the towel shows heavy brownish-gray residue, that’s settled dust and it’s cleanable. If the residue is black, slimy, or has a gray-green tint, and if the damp towel releases an earthy odor, you’re looking at microbial growth, not dust. That requires a different protocol: a cleaning process designed for contaminated ducts, or a mold remediation assessment depending on the extent.
Step 3: Separate supply from return
The smell might be on the wrong side of the system. Take a flashlight to the return grille. Behind it, you’ll see either a metal duct or a building cavity. If it’s a cavity, inspect the visible surfaces for dust, staining, or actual growth on the framing. A return that pulls air through a musty wall cavity will distribute that smell through every register in the house. The supply ducts might be perfectly clean, and you’ll still smell that cavity every time the fan runs.
Step 4: The isolator test
Close all of the supply registers in the house except the one in the smelliest room. Run the fan. With the airflow concentrated in that branch, the smell should intensify if that duct run is the source. If the smell is unchanged or you can’t localize it to a specific room, think air handler. This isolates the symptom enough to make an informed service call.
We run this diagnostic every day on houses in Pocket that have been through multiple cleanings without relief. It takes ten minutes and tells us whether the problem is in the branch runs, the return side, or the equipment cabinet. Once you know the answer, you’re no longer guessing, and you’re no longer paying for services that don’t address the actual problem. Dryer Vent Cleaning in Pocket works the same way: localized symptoms that a flashlight inspection can confirm or rule out.
When a Second Cleaning Makes Sense (and When It Doesn’t)
Most homeowners don’t want to hear that another cleaning might be necessary, and most duct-cleaning companies are happy to resell one. We’d rather tell you the truth: a second cleaning is warranted in specific, identifiable circumstances. If none of those circumstances apply, another cleaning is wasted money.
When another cleaning is legitimate
- Renovation work after the first cleaning: If you had drywall, flooring, or attic insulation work done after a cleaning, the ducts need to be cleaned again. Construction dust is fine and pervasive, and it will be in the ducts.
- The first cleaning was incomplete: If the prior tech spent 45 minutes in the house, didn’t go into the attic, and never touched the returns, you didn’t get a duct cleaning. You got a register vacuuming. A full-system rotary-brush cleaning with negative air takes several hours and leaves no surface untouched.
- Contamination recurred due to a moisture event: A roof leak, plumbing overflow, or AC drain backup that reached the ducts creates a new contamination event. Once the moisture source is fixed, the ducts need to be cleaned again.
- Visible debris in the ducts confirmed by your own inspection: If you can see dust bunnies, construction debris, or pet hair in the supply branch lines with a flashlight, the duct is not clean. Full stop.
When another cleaning is the wrong call
- The ducts are objectively clean but the symptoms persist: Dust, smell, or allergy symptoms continue despite clean duct interiors. The source is upstream or outside the ductwork.
- You’ve confirmed a coil or drain pan problem: The cycle test in the section above pointed you to the air handler. Clean the coil and pan, not the ducts.
- There’s a known duct leak or disconnected section: Seal and reconnect first. Cleaning leaks and disconnections doesn’t solve the contamination pathway.
- The smell is in the house, not the system: A musty crawlspace that the HVAC isn’t drawing from will still smell through the floor. Solve the crawlspace, then reassess.
In our experience with Pocket homes, when a homeowner has paid for two or more cleanings and still has symptoms, the problem is virtually always a leak, a breach, or the equipment. The lesson: after one cleaning, stop paying for cleanings and start paying for diagnosis. Companies that won’t show you the inside of your ducts during and after the service shouldn’t be trusted with a re-clean. We use the Rotobrush system and the Nikro negative-air machines precisely so we can show you what came out and what’s left. Professional-grade equipment, not adapted consumer tools.
Return-Air Breaches: The Pocket Crawlspace Problem
Pocket is a riverside community. That means water tables are high, crawlspaces are common, and the soil moisture under many homes is a constant. Return ducting in crawlspaces lives in that environment. Ground moisture accelerates corrosion on metal ducts and encourages deterioration of flex duct outer jackets. When a return duct breaches in a crawlspace, you’re not just pulling dirt. You’re pulling whatever dried, decayed, or animal-adjacent material exists down there.
We’ve pulled ant colonies, rodent droppings, and dead insects out of return ducts in Pocket. The homeowners had no idea because the contaminants were entering the system before the filter. A return breach is an upstream problem. The filter can’t help because the breach is on the wrong side of it.
How to check for a crawlspace return breach from inside the house
Turn off the HVAC. Remove the return grille. You won’t see the crawlspace breach from the grille, but you can check for evidence. Run a damp paper towel over the return grille interior and the nearest accessible duct surface. If you find black or gray residue, if the inside of the return smells earthy, or if you can feel cool, damp air moving through the return when the fan is off, you have reason to suspect a breach. The definitive check requires going under the house or into the crawlspace with a flashlight. A professional with proper personal protective equipment should do this. Crawlspaces contain fiberglass, rodent droppings, and sometimes hazardous mold. We inspect crawlspace returns on nearly every Pocket service call because in this neighborhood, they’re a common failure point. A company that never looks under the house isn’t providing full-system cleaning.
What happens after a crawlspace return breach is found
The return section is either resealed with mastic and mechanical fasteners or replaced with new flex duct or metal. The crawlspace itself may need attention: a vapor barrier, dehumidification, or ventilation correction. That work falls outside our three service lines, but we’ll tell you when it’s needed and why. What we won’t do is clean your ducts, take your money, and leave you with a return that starts sucking crawlspace air back in the moment we pull out of the driveway. That’s a known path to repeat service calls, and it’s not the way we operate.
Dust Returning Too Fast? The Role of Filtration and Static Pressure
Some Pocket homeowners run a cleaning, upgrade to the most aggressive filter they can find, and then wonder why their dust problem got worse. The answer is static pressure. The more restrictive the filter, the harder the blower works against resistance. If the duct system was already marginal, a high-MERV filter creates a pressure drop that forces the system to pull air around the filter, not through it. Filter bypass means unfiltered air runs through the ducts, and the dust returns immediately.
The right filter for most homes is a mid-range pleated filter with a MERV rating between 8 and 11. Anything higher should only be installed after confirming the system can handle the added resistance. That requires a static pressure test, which a qualified technician can perform in ten minutes. If your system can’t handle a high-MERV filter, the fix isn’t running a cheap fiberglass filter. The fix is correcting the duct leakage, increasing return capacity, or replacing the filter housing. None of those are solved by another cleaning.
We stock Honeywell-compatible filter solutions and understand the interaction between filtration and airflow. A Honeywell media cabinet or a properly fitted 4-inch pleated filter offers real filtration with far less resistance than a 1-inch high-MERV filter. In Pocket’s dusty summers, that distinction matters. The objective is clean air that actually moves, not a filter so restrictive that the system bypasses it entirely.
A note on Guardsman and HEPA-style aspiration
We also run Guardsman equipment in certain applications where fine particulate capture matters. It’s not about having consumer tools that happen to look professional. It’s about matching the machine to the job. A negative-air unit sized for commercial remediation is overkill for a 1,400-square-foot Pocket ranch. A shop vac is underkill for the same house. The middle is where full-system residential stuff lives: Nikro negative-air machines, rotary brushes that make contact with the actual duct surface, and HEPA-filtered collection. That’s the range of tools we run, and it’s one reason we can show you what was in your ducts before and what remains after. It’s also the reason we don’t charge for repeat visits to fix dust that shouldn’t have come back. The process either worked or it didn’t, and we’re the ones accountable for which.
Common Mistakes to Avoid
- Skipping the investigation because the vents “look clean.” The register is where air exits. The problem is usually upstream. You have to look inside the duct, the return, and the equipment cabinet to find the source. A clean register means nothing.
- Using the cheapest filter you can find. A 99-cent fiberglass filter stops only the biggest particles. Everything else passes through and deposits in the ducts. You just paid to clean them.
- Paying for a second cleaning without a documented reason. If no one showed you what the first cleaning missed, you don’t know whether it missed anything. Demand evidence: before and after photos of your own duct interiors.
- Sealing leaks with duct tape. Standard gray duct tape fails within a year in Pocket attics, where summer temperatures dry out the adhesive. Mastic or UL-listed foil tape is the only real fix.
- Assuming the biggest machine is always the best cleaning. A negative-air machine that’s oversized for the house won’t clean better. It’ll just pull more unconditioned air in through leaks while the brushes do less contact work. The process matters more than the horsepower.
- Closing supply registers to “save energy” in unused rooms. This increases pressure in the duct system and forces air out of existing leaks. It also unbalances the system and can reduce filter capture. Leave registers open unless a technician instructs otherwise.
- Waiting until the smell is unbearable before investigating. By the time a musty odor becomes obvious, the source has often been growing for months. Investigate at the first sign of a new smell, not the hundredth.
When to Call a Professional
Some of the diagnostics in this guide you can do yourself with a flashlight and ten minutes. But certain findings require professional attention, and ignoring them can make the problem more expensive. Call for professional help if you find black or slimy growth inside a duct, a return chase pulling air from a garage or crawlspace, a duct section that’s visibly separated or collapsed, or a coil that shows heavy debris. Also call if you’ve already paid for one cleaning and symptoms persist; the problem isn’t going to resolve on its own, and repeating the same service is money wasted. Purevent Air Duct Cleaning offers free estimates in Pocket. Call (877) 752-5088 and we’ll tell you honestly whether cleaning, repair, or something else is the right path. We clean, inspect, and repair in the same visit.
Frequently Asked Questions
You should notice a difference within one to two weeks. Less dust on horizontal surfaces, reduced odor, and improved airflow are all reasonable expectations. If nothing has changed after two weeks, the cleaning either missed something or the source of the problem is outside the ductwork. Call us at (877) 752-5088 for a reassessment. Estimates are free.
Air duct cleaning can temporarily stir up particulates that settle within a day or two, but it should not make allergies worse over the long run. If allergy symptoms worsen or persist weeks after a cleaning, the likely cause is a contaminated coil, a leaking return pulling unfiltered air, or a mold source inside the home. The cleaning didn’t create the problem; it failed to address it.
Ask for before and after photos of your own duct interiors. A reputable company using rotary-brush and negative-air equipment can show you exactly what was removed. We provide visual verification on every Purevent job because it’s the only way to prove the work. If a company can’t or won’t show you your own ducts, assume the worst.
A musty smell that persists after cleaning usually comes from either a contaminated evaporator coil or drain pan, a return-air breach pulling air from a crawlspace or attic, or a moisture source that remains active. Duct cleaning can’t fix any of those. Run the cycle test described above to narrow the source, then address it directly.
If the system has leaks, yes. A cleaned but leaking duct system re-contaminates itself within weeks by pulling attic or crawlspace air through every gap. Sealing is what makes the cleaning last. Any company that cleans but never checks for leaks is leaving the job half done. Call (877) 752-5088 to schedule an inspection that includes a leak assessment at no additional cost.
Air duct cleaning removes accumulated debris from the interior surfaces of the duct system. Choosing the Right Air Duct Cleaning Brand: A Buyer’s Guide for Pocket can help you find a company that also handles air duct repair, which fixes structural problems: disconnected joints, crushed flex runs, leaking seams, and failed return chases. The two are complementary. A system that needs repair won’t stay clean, and a system that’s clean but leaking won’t perform. We handle both under one roof. Estimates are free.
Yes, with one condition: the cleaning must be paired with inspection and any necessary repair. Older Pocket homes often have return chases built from wall cavities, metal ducts running through crawlspaces, and decades of deferred maintenance. Cleaning alone addresses only part of that picture. A full-system approach that includes cleaning, leak identification, and repair is the only approach that delivers lasting results.
The Bottom Line
Air duct cleaning is a valuable service when it’s paired with honest diagnosis. Most persistent dust, odor, and allergy problems in Pocket homes trace back to three things: leaks or disconnections in the duct system, contamination in the air handler, or return-air breaches pulling from crawlspaces and attics. None of those are fixed by running a vacuum through the supply registers. The fix is a full-system inspection that identifies the actual source, a cleaning that uses professional-grade rotary-brush and negative-air equipment, and a repair that stops the contamination from returning. That’s the service we built Purevent around. When you’re ready to stop paying for cleanings that don’t work, call us. We’ll diagnose the system the way we’d want it diagnosed if it were our house, and we’ll do the work that actually solves the problem.
Written by the team at Purevent Air Duct Cleaning, serving Pocket since 2017.
See the difference
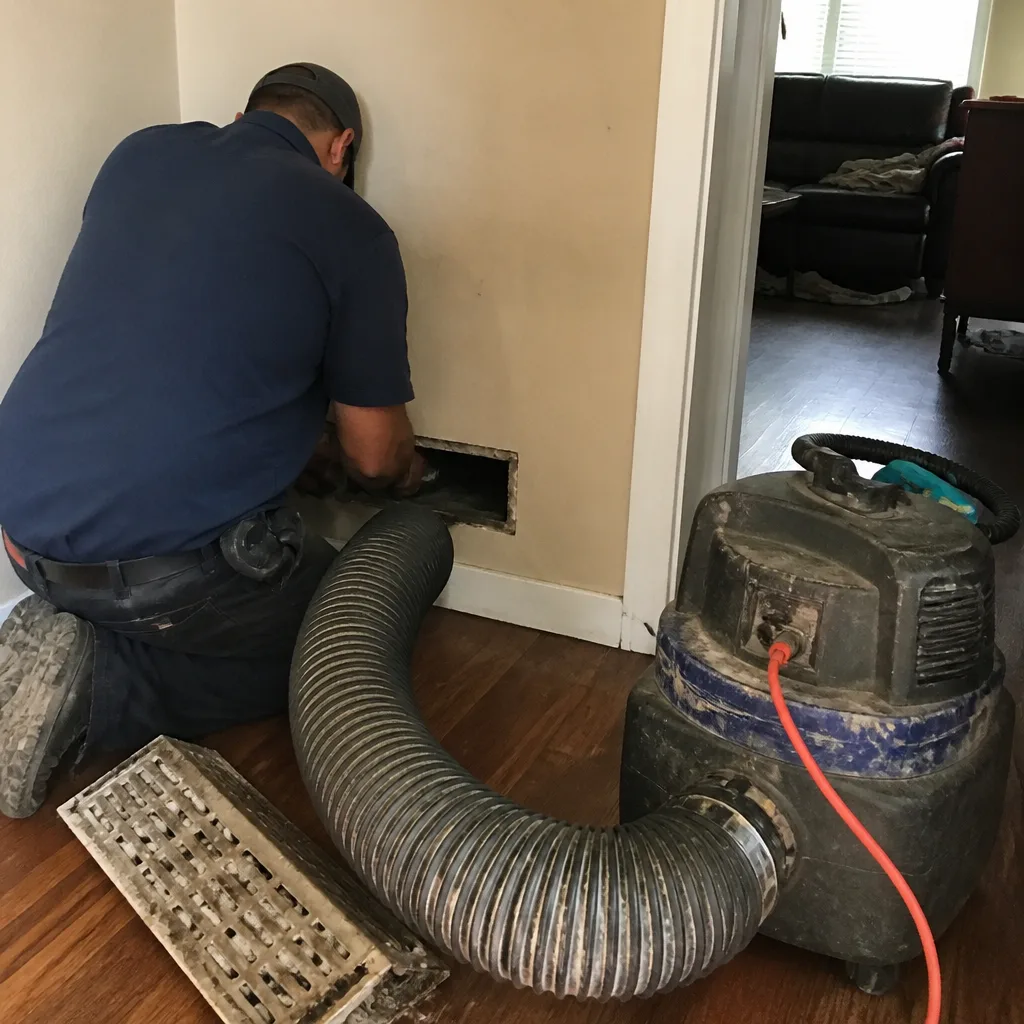 Before
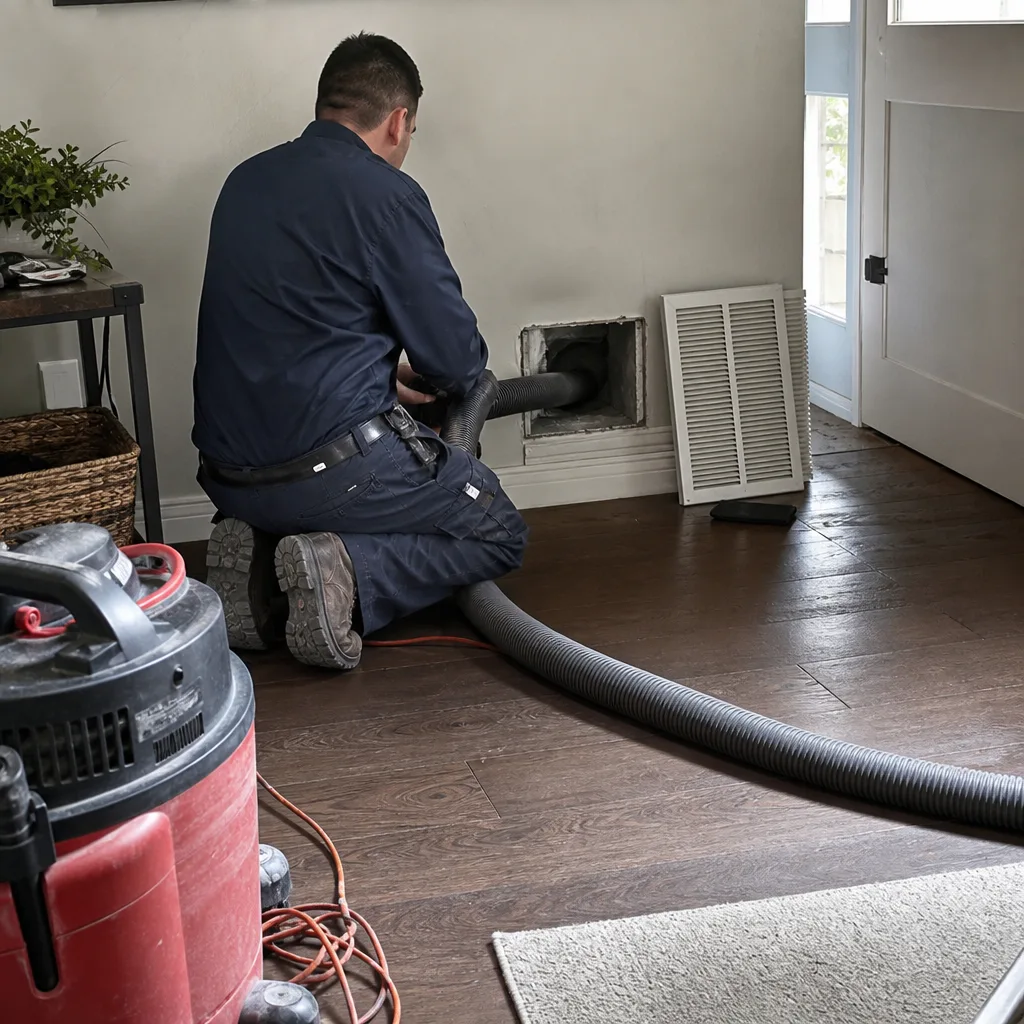 After
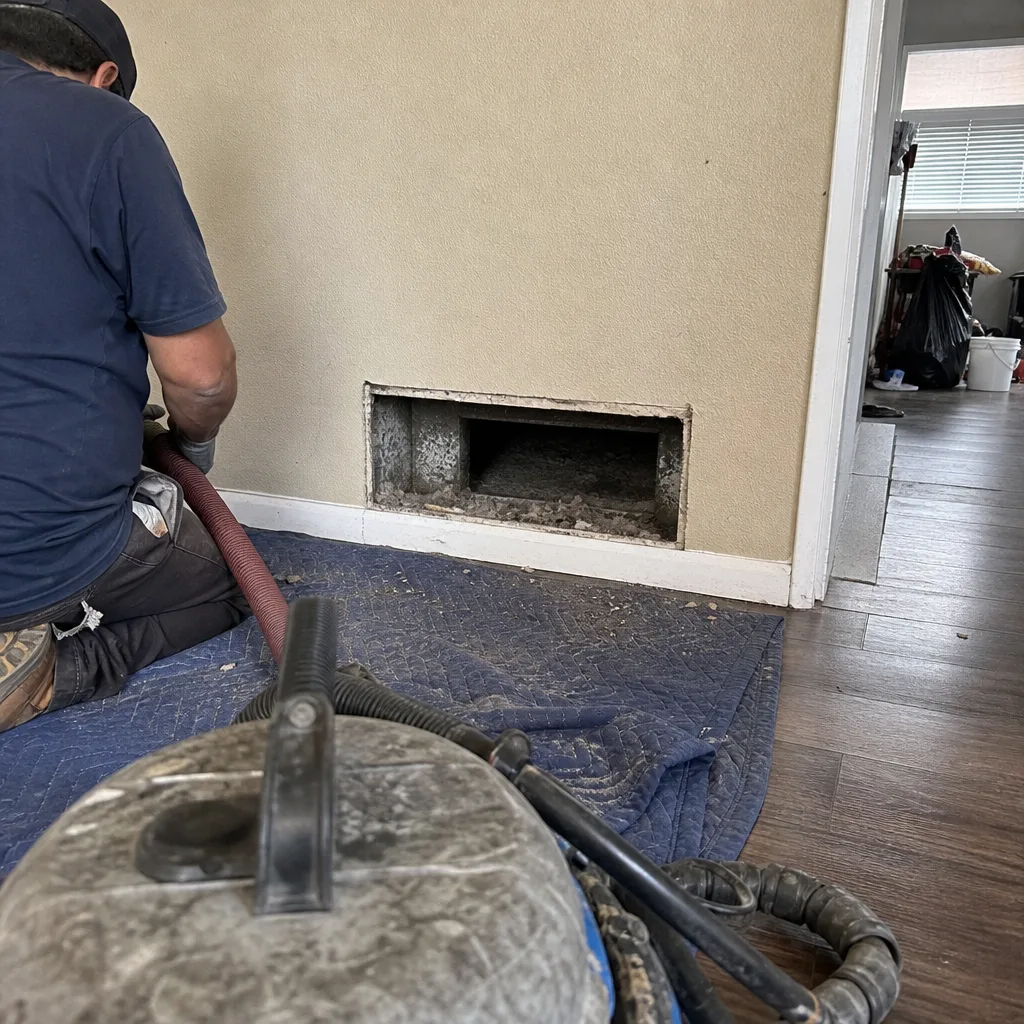 Before
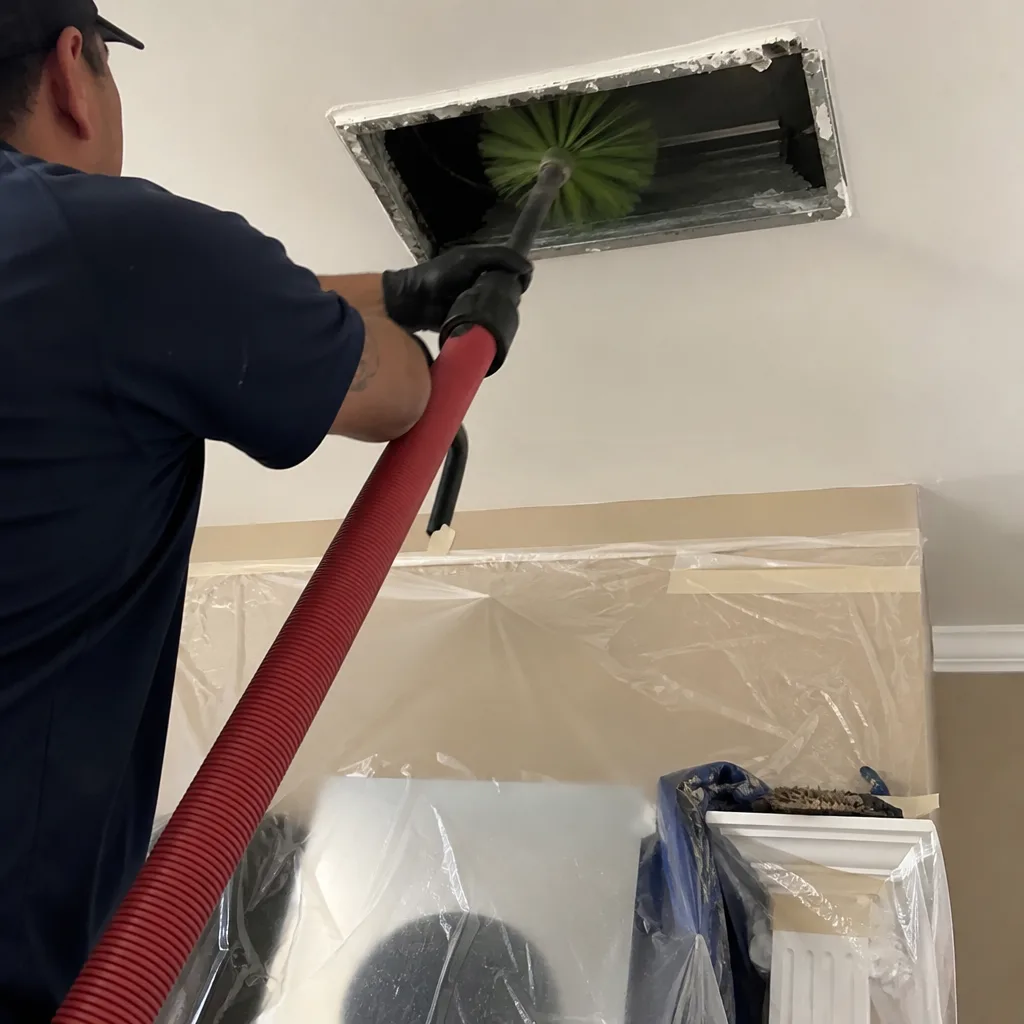 After
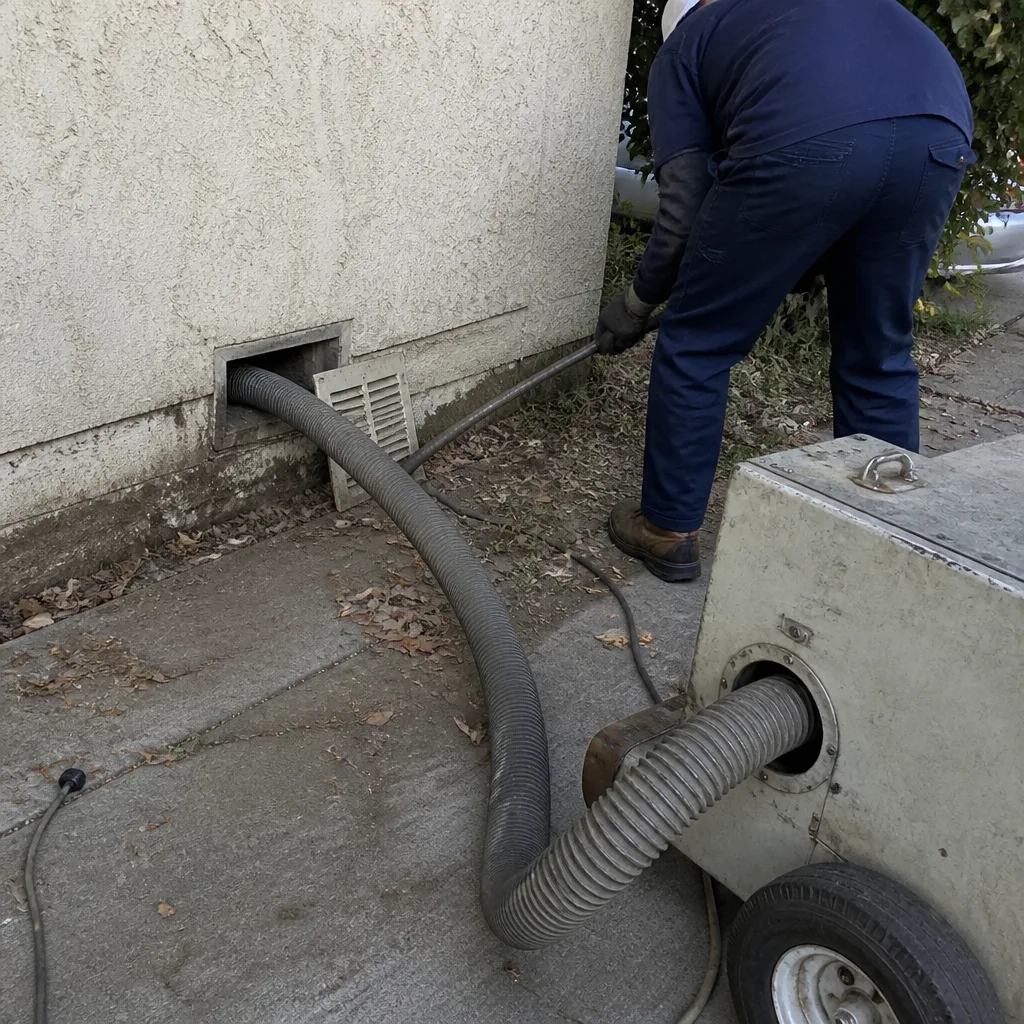 Before
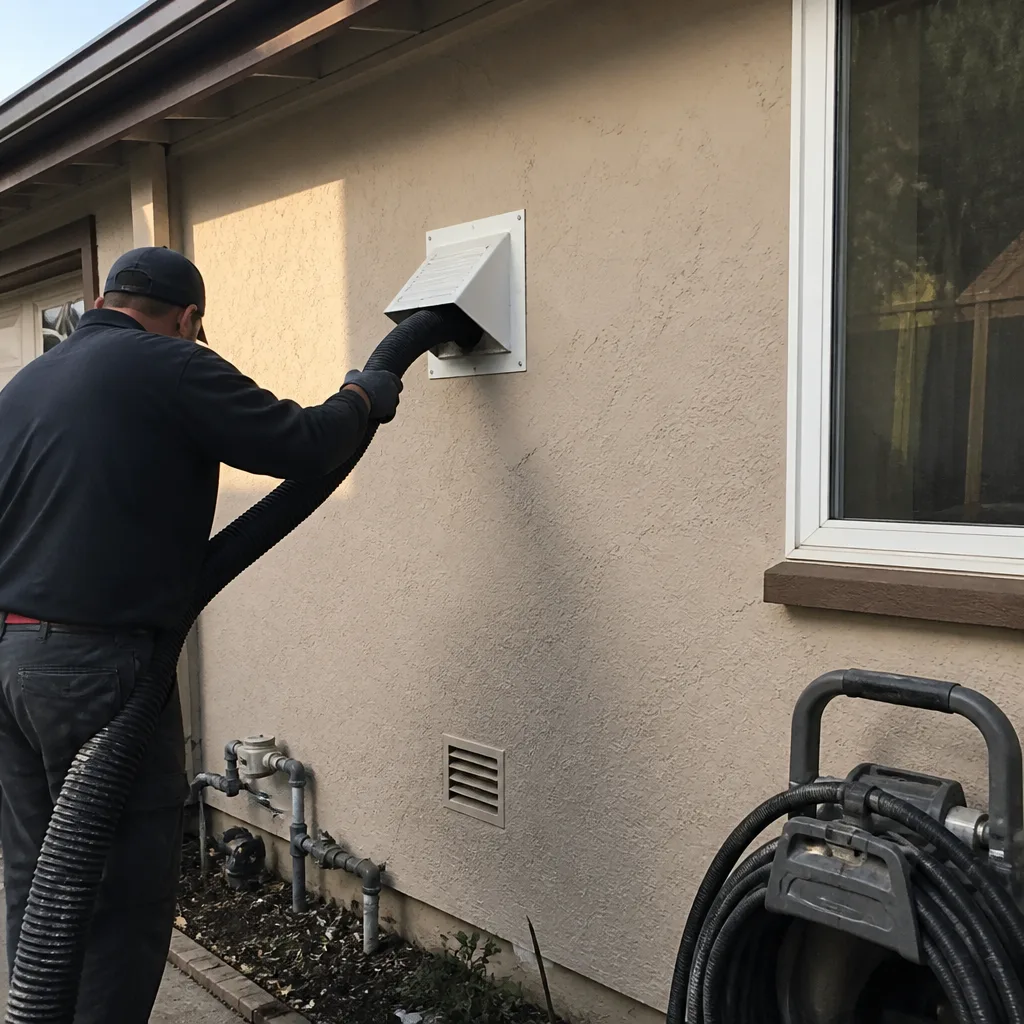 After