
Last updated November 2, 2026
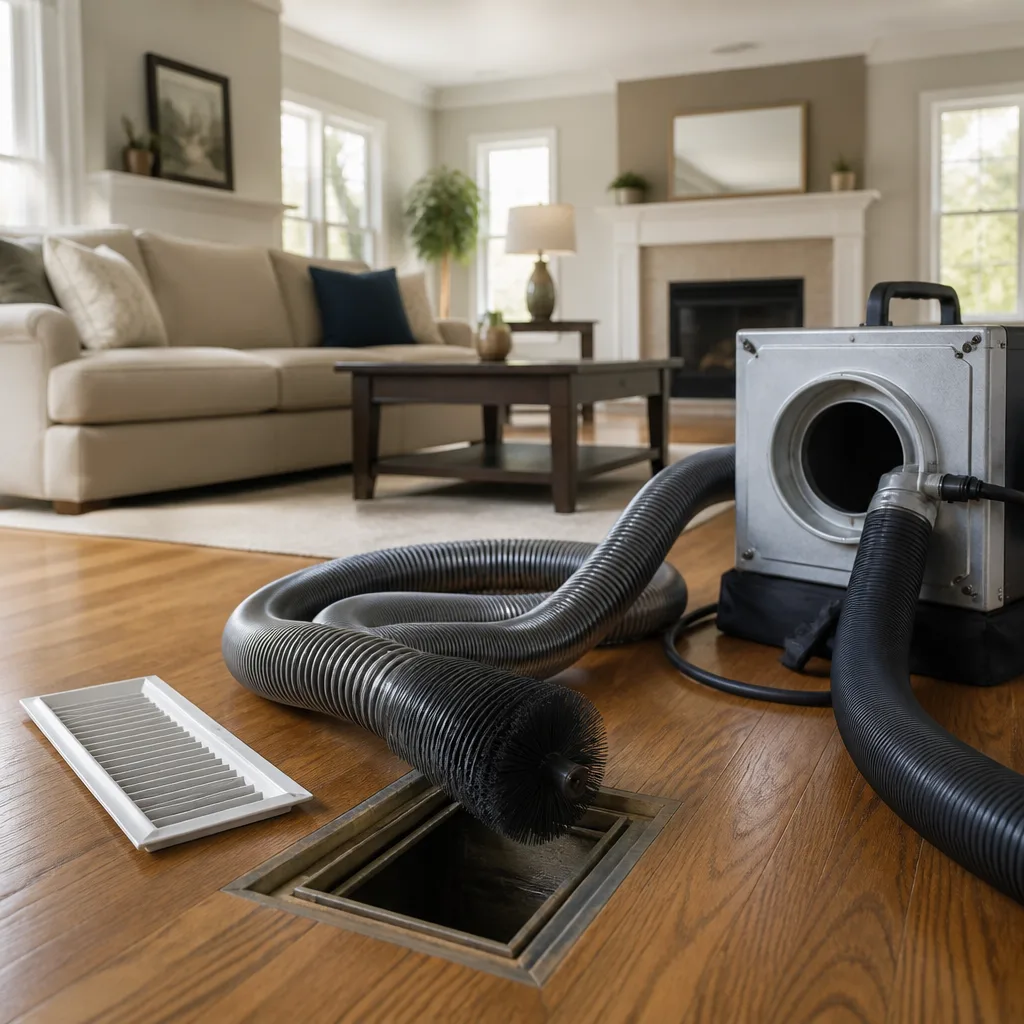 Whole-home duct cleaning
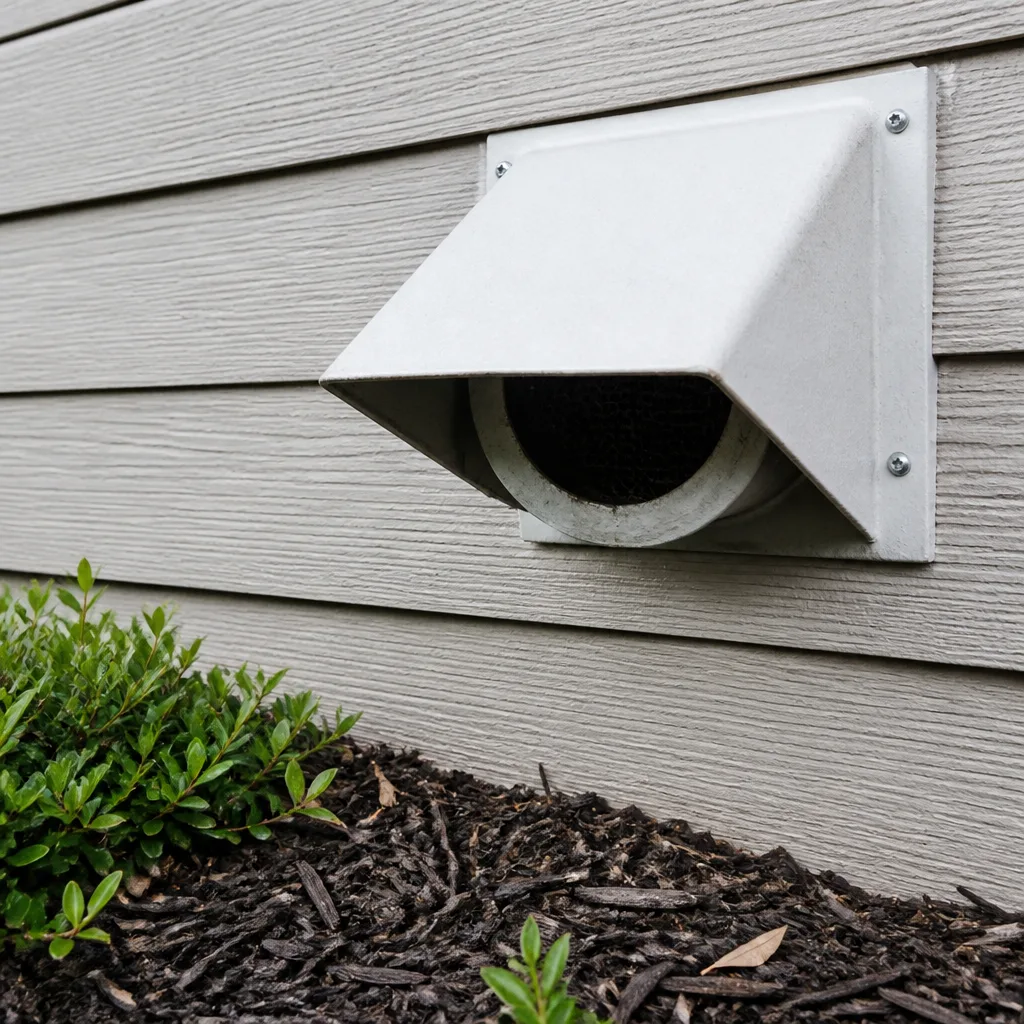 Dryer vent cleaning
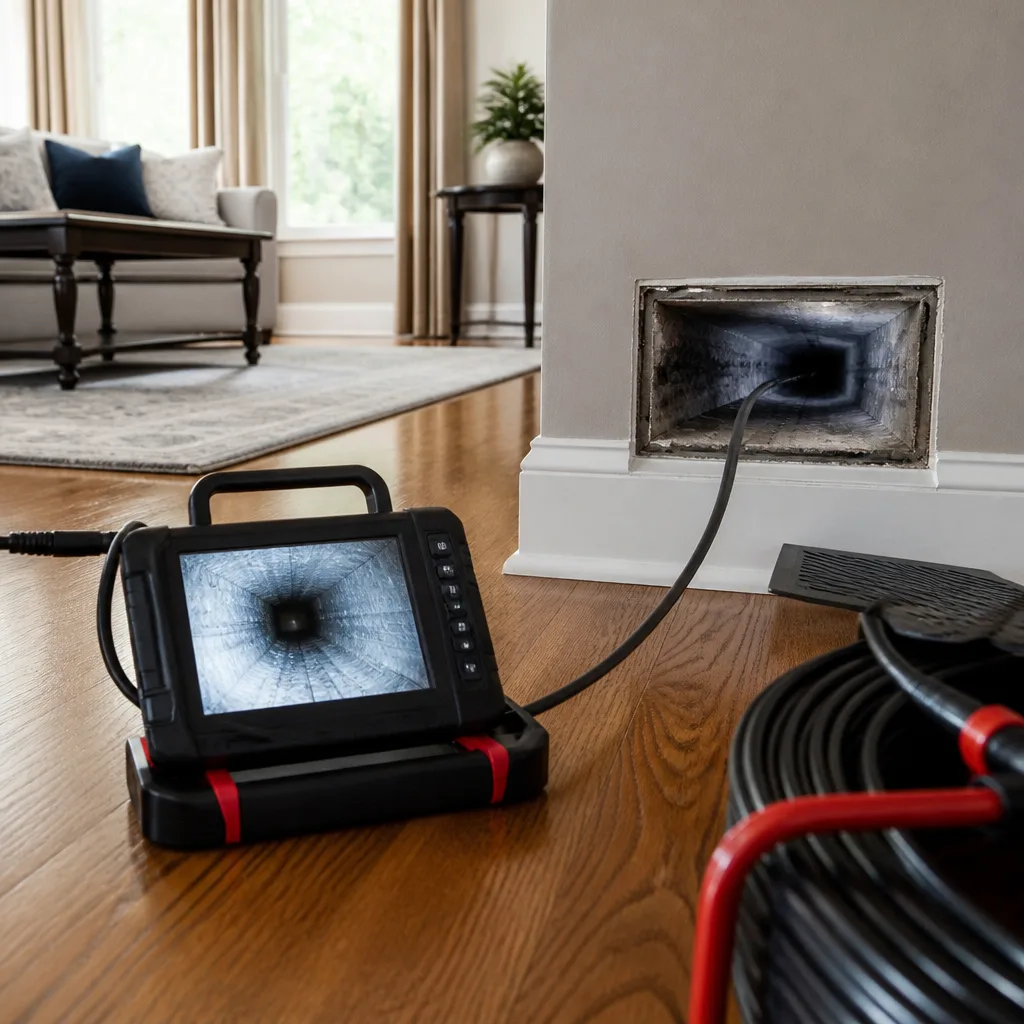 Camera inspection
 Sanitizing & deodorizing
Whole-system duct and dryer vent check with before-and-after photos - you see exactly what came out of your vents
That "$99 whole-house special" is a bait ad - the real number appears once they are in your hallway, or the "clean" is a shop-vac at the register. We photograph the inside of your ducts before and after instead.
Air Duct Cleaning Maintenance Checklist for Pocket Homeowners
Most homeowners replace their HVAC filter on a schedule. It’s the one maintenance task everyone knows. But here’s what almost nobody does: they never look at what’s downstream of that filter. That’s where the real story lives. The buildup, the loose connections, the biological growth that triggers allergy flare-ups in March and that musty smell in July. Pocket homeowners deal with a specific set of conditions: Sacramento Valley heat, wildfire smoke season, and older homes with ductwork that’s been patched and re-patched over decades. This guide is a maintenance framework, but it’s not about cleaning frequency. It’s about building an observation habit. Small problems caught early, a disconnected return, a condensation-soaked flex duct, never become HVAC failures. By the end, you’ll know what to look at, what to ignore, and when a professional is the only sensible call.
Quick Answer
A meaningful air duct maintenance routine for Pocket homeowners has three layers: monthly visual checks of register grilles and the filter chamber, seasonal checks tied to wildfire smoke exposure and summer humidity, and professional cleaning and inspection every 3 to 5 years using rotary-brush contact cleaning and negative-air equipment. The most important habit is documentation: photos of your ductwork taken on a regular schedule so a contractor can compare condition against a baseline rather than guess.
Styles & brands we work with
- Whole-home duct cleaning
- Dryer vent cleaning
- Camera inspection
- Sanitizing & deodorizing
Table of Contents
- The 15-Minute Room-by-Room Inspection
- What Your Filter Is Actually Telling You
- Seasonal Markers: Pocket’s Fire Season and Humidity Cycles
- How to Document Duct Condition Over Time
- The Three Tasks Between DIY and Professional
- What Professional-Grade Equipment Actually Does
- How Often Should You Actually Clean Your Ducts?
- When Duct Cleaning Reveals a Repair Problem
The 15-Minute Room-by-Room Inspection
You don’t need tools for this. You need a flashlight, your phone camera, and about fifteen minutes. The goal is to establish a baseline of what “normal” looks like in your specific house, because nobody knows your ductwork’s personality better than someone who looks at it every month.
Start at the return grille, not the supply registers. The return is the intake side, the place where air gets pulled back into the system. In Pocket homes, return grilles are often located in hallways or high on a wall. Remove the grille or just shine a flashlight through the slats.
What to look for at the return:
- Dust accumulation that looks like gray felt or carpet fuzz on the inside surfaces
- Debris that shouldn’t be there: pet hair clumps, small toys, construction dust, insect casings
- Filter fit: a filter that sits loose in its slot means air is bypassing it entirely
- Any dark spotting or discoloration on surfaces behind the filter
Then move room by room to each supply register. These are the vents that blow conditioned air into the room. Look at the grille itself first, then the visible duct interior behind it.
Supply register checks:
- Dust streaking on the wall or ceiling around the register face
- Visible buildup on the register vanes themselves, especially on the back side
- Discoloration that looks like faint gray or black speckling inside the duct opening
- Dampness or water staining around the register
The airflow balance check is the part most maintenance guides skip. Walk through your house on a hot afternoon when the AC is running hard. Stand in each room for thirty seconds. Does one bedroom feel noticeably warmer than the hallway? Does one room have a strong blast of air while another barely whispers? That imbalance is data. It tells you something about the duct runs feeding those rooms. A partially disconnected duct, a crushed flex run, a damper that’s stuck closed. These are the observations that matter because they precede symptoms like rooms that never cool down or a system that runs constantly.
Key takeaway: The inspection itself takes fifteen minutes. The habit takes consistency. Put it on your calendar for the first weekend of the month. Same time, same route, same phone camera. Over six months, you’ll have a documented record that would impress any contractor.
What Your Filter Is Actually Telling You
The filter is a diagnostic tool that most homeowners read wrong. A dirty filter isn’t just a chore to swap. It’s evidence of what’s happening upstream and downstream in the duct system.
Here’s the signal most people miss: if a fresh filter is visibly loaded with dust, pet hair, or debris in under 30 days, your return side is pulling air from somewhere it shouldn’t. A properly sealed return system draws air through the return grilles and the filter. That’s the only path. When the filter loads up fast, the likely explanation is return-side leakage. Gaps in return duct connections, especially in attics and crawlspaces, allow unfiltered air to be sucked in from unconditioned spaces. In Pocket, that means attic air full of blown insulation fibers and fine Sacramento Valley dust entering the system below the filter’s protection.
Filter checks that reveal duct health:
- Check filter loading at the 30-day mark. A heavily loaded filter is not a sign that you need a “better” filter. It’s a sign that air is bypassing or the return system has leaks.
- Look at the filter’s orientation and fit. A filter that sits loose in the slot, with visible gaps around the edges, is letting unfiltered air pass around it entirely.
- Inspect the area immediately behind the filter. This is the first few inches of the air handler side. If you see dust coating this surface, the filter is not sealing. Air is getting around it.
- Note the color of the debris. Gray fluffy dust is normal indoor dust. Brownish or black speckling can indicate combustion particles or biological material. Fine white powder in an older Pocket home may be drywall dust from past renovation work.
The filter slot itself deserves attention. Many older homes in Pocket have filter cabinets that are rusted, bent, or simply the wrong size for the opening. A filter that bows or flexes under airflow is not doing its job. Some homeowners discover they’ve been buying the wrong size filter for years, one that technically fits but leaves a half-inch gap on one side.
What to do with this information: If your filter loads fast or doesn’t seal, the fix is not a thicker filter. The fix is sealing the return system. This falls into duct repair territory, not routine maintenance. Document what you see with photos and note the dates. When you call a professional, this record tells them exactly where to start looking.
Seasonal Markers: Pocket’s Fire Season and Humidity Cycles
Pocket sits in a valley that collects what the wind brings. Wildfire smoke from the foothills and northern California fires settles here in late summer and fall. That smoke is fine particulate matter, and some of it inevitably enters the duct system. The question isn’t whether smoke has been in your ducts. It’s how much, and whether the components of your duct system gave it something to cling to.
Post-wildfire-smoke assessment:
- After a significant smoke event, inspect the filter first. But the filter is only part of the story. Smoke particles that made it past the filter have deposited somewhere downstream.
- Check register grilles in the rooms closest to the air handler first. If the system is in a hallway closet or garage, those closest registers may show more fine dark or brownish dust than usual.
- Flex ducts are particularly vulnerable to smoke particle adhesion. The interior plastic liner can hold a film that normal airflow won’t dislodge. This film is not always visible from outside the duct. It requires an interior camera inspection.
- Consider a professional duct cleaning after a severe fire season, even if your ducts were cleaned the year before. Smoke particulate loading is an abnormal event, not routine accumulation. The comparison is a carpet after a house party versus after a flood.
Post-summer humidity check:
Pocket’s summers are dry, but the shoulder seasons bring moisture. Flex ducts in unconditioned attics can develop condensation problems when warm humid air meets cool duct surfaces during morning temperature swings. The damage pattern to look for:
- Sagging flex duct runs in the attic. A properly installed and supported flex duct should have a gentle curve, not a deep droop. A droop creates a low spot where condensation can pool.
- Water staining on ceiling drywall near registers, especially in rooms that run humid (bathrooms, laundry areas). This is often mistaken for a roof leak. It can be condensation from a duct that has lost its insulation wrap or vapor barrier.
- Mold or mildew odor that appears seasonally, usually strongest in fall. This is a classic symptom of condensation inside ducts that dries out during summer but reactivates when humidity returns.
The seasonal rhythm for Pocket homeowners looks like this: check ducts after fire season, check for condensation signals in fall, check airflow balance in summer when the system is running hardest. Three seasonal touchpoints, each looking for a different failure mode.
How to Document Duct Condition Over Time
Contractors walk into homes every day where the homeowner says, “I think the ducts are dirty” but has no reference point. Dirty compared to what? A baseline changes the conversation from guesswork to comparison. Here’s a documentation protocol that takes minutes and pays off in diagnostic accuracy.
Step 1: Establish the photo baseline.
Use your phone. Take photos of the same locations every time. The return grille with the grille off. The filter chamber looking toward the air handler. Each supply register in each room. The visible duct runs in the attic or crawlspace if accessible. Store these in a dedicated album on your phone. Photos with poor lighting are still useful if they’re consistent. Same angle, same location, same time of day if possible.
Step 2: Photograph at the same monthly cadence.
The first weekend of every month, do the room-by-room inspection and add new photos to the album. Over three months, you’ll have a time-lapse of your duct condition. Differences that would be invisible in a single visit become obvious: a register that’s getting dustier faster than its neighbors, a stain that’s growing, a sag that’s deepening.
Step 3: Photograph before and after any filter change.
This is a surprisingly powerful pair of images. The before photo shows what the filter looked like after its service life. The after photo shows the clean filter in place, properly seated, with the slot visible around it. These images help a contractor verify filter fit issues without having to disassemble anything.
Step 4: Note unusual observations in writing alongside the photos.
Your photo album includes a comments field or you can use a simple notes file. “March: return grille dust looks heavier than February.” “June: noticed faint musty smell when AC kicks on in master bedroom.” “September: smoke smell in house during fire week even with windows closed.” These notes are the narrative that accompanies the visual record.
Why this matters: When a professional air duct cleaning team in Pocket has a photo record and written observations, the diagnostic process is faster and more accurate. Instead of assessing a single snapshot, they can see the trajectory. The contractor isn’t guessing whether that discoloration is recent or years old. The timeline shows it developed over the last four months. That’s actionable information that changes what they look for and where they look.
The Three Tasks Between DIY and Professional
Not everything in duct maintenance requires a professional. Not everything is safe to handle yourself. Three tasks fall into the middle zone: they need more than passive observation but less than full professional equipment. Understanding where the line sits is part of responsible homeownership.
Task 1: Dryer Vent Inspection (DIY-adjacent, professional recommended for deep cleaning)
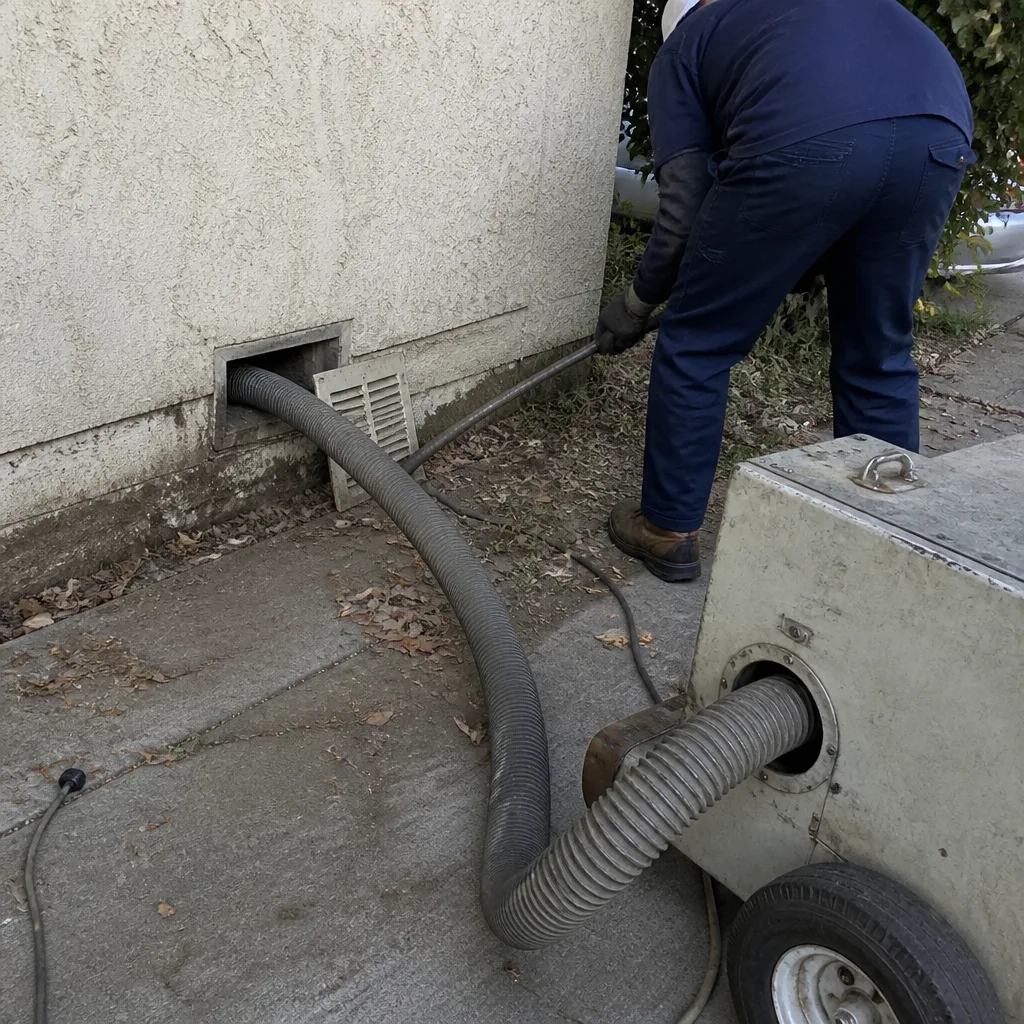
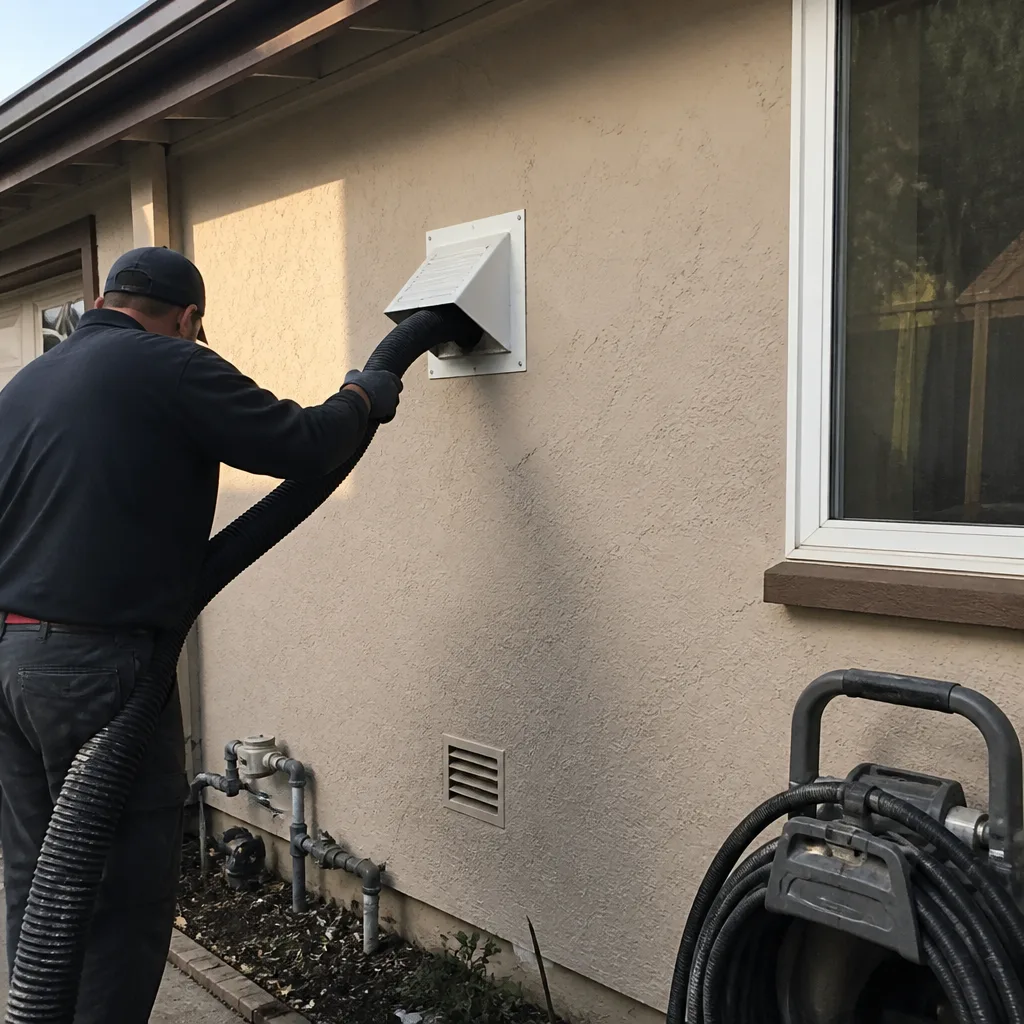
The dryer vent is the most overlooked fire risk in most homes. Lint accumulates inside the vent run, and it’s highly flammable. A homeowner can do a basic inspection: check the exterior vent flap for proper operation and visible lint buildup. You can vacuum the vent opening from the outside with a standard shop vac, reaching in a few inches. But the full vent run, especially if it’s long or has turns, requires professional equipment. A rotary brush system designed for dryer vents reaches the entire run and removes lint that a shop vac can’t touch. If your dryer takes longer than one cycle to dry a normal load, if the laundry room is unusually humid during cycles, or if you can’t remember the last time the vent was cleaned, schedule a professional dryer vent cleaning in Pocket. This is a safety item, not a comfort item.
Task 2: Register Cleaning (DIY appropriate with the right method)
You can and should clean your own register grilles. Remove them from the wall or floor carefully. Wash them in warm soapy water. Dry them completely before reinstallation. While the grille is off, vacuum the visible duct opening as far as you can reach with a standard household vacuum with a hose attachment. Do not reach beyond what you can see. Do not use duct cleaning brush attachments on a standard drill. Those tools are not designed for residential ductwork and can damage flex duct interiors. This task is surface-level only. It keeps the house cleaner and reduces visible dust around registers. It does not replace professional cleaning of the interior duct runs.
Task 3: Accessible Flex Duct Re-sealing (professional only, with inspection DIY)
Some homeowners spot gaps at flex duct connections in the attic or crawlspace and consider sealing them with duct tape. Do not do this. The correct material is mastic sealant or UL-listed foil tape, and proper application requires surface preparation and the right technique. Duct tape, despite the name, is one of the worst materials for duct sealing. It dries out and falls off within years. If you spot a disconnected flex duct, a visible gap in a connection, or a crushed run, document it with photos and call a professional. This falls under air duct repair in Pocket, and the equipment and materials matter. A correctly sealed duct system delivers better airflow and filters more effectively. A badly sealed one just fails again in a different spot.
What Professional-Grade Equipment Actually Does
The difference between professional duct cleaning and a low-cost alternative is mostly invisible from the homeowner’s perspective, which is exactly why research-minded buyers ask about equipment. Here’s what separates the two approaches.
Rotary-brush contact cleaning. The industry term is contact cleaning because the brush physically touches the interior surfaces of the duct. A rotating brush system, the type used in Rotobrush machines, agitates the debris that has adhered to duct walls. Vacuum-only cleaning pulls loose dust out of the air stream but does nothing for the film that has bonded to surfaces over years. Contact cleaning breaks that bond. The brush reaches the full circumference of the duct, not just the floor.
Negative-air systems. The other half of professional cleaning is negative air pressure. Machines like the Nikro units used by remediation contractors create a vacuum that keeps the home under negative pressure while cleaning is happening. This means that dust dislodged by the brushing action is pulled out of the ducts and into a containment system, not released into the living space. A consumer-grade vacuum attached to an improvised brush does the opposite: it often circulates dislodged dust into the room air, which is worse than not cleaning at all.
Filtration during cleaning. Professional negative-air systems include HEPA filtration. The air pulled from the duct system is filtered before it’s exhausted. This matters because duct dust contains fine particles that would otherwise be distributed through the home. HEPA filtration captures particulates down to a size that standard HVAC filters cannot. Brands like Abatement Technologies build filtration systems designed specifically for airborne particulate control during remediation and cleaning work. The equipment is the reason professional cleaning can happen while the family is home. The containment is that effective.
Inspection capability. Professional equipment includes camera systems that document the interior of the ducts before and after cleaning. These images are the verification a homeowner deserves. Before-and-after photos of your own ductwork, not stock photos, not a technician’s verbal assurance. The photos show what was there and what was removed. Our team at Purevent Air Duct Cleaning home documents every job with interior camera photos because that’s the only honest proof of work.
How Often Should You Actually Clean Your Ducts?
The honest answer is that no universal schedule exists. The variables are specific to your home and your household. But here’s the framework a professional would use.
Every 3 to 5 years as a baseline. The National Air Duct Cleaners Association uses this range as a guideline for residential systems that are properly filtered and sealed. This is not a marketing claim. It’s a maintenance interval based on the rate at which dust accumulates in a typical residential duct system. Homes with clean baselines and good filters may stretch this. Homes with pets, wildfire smoke exposure, or older duct systems may compress it.
Sooner if specific conditions exist:
- Visible mold growth inside ducts or on register grilles. This is not a cleaning-only situation. It requires cleaning plus addressing the moisture source. If you see what appears to be mold, call a professional for evaluation.
- Rodent or pest infestation. Droppings, nesting material, or carcasses in ducts require professional removal and sanitization. This is a health issue beyond routine cleaning.
- Post-renovation dust loading. If you’ve had drywall work, flooring replacement, or major construction, construction dust has entered the duct system. This dust is fine and pervasive, and it recirculates for months if not removed.
- Persistent allergy symptoms that improve when you’re away from home. This pattern suggests something in the indoor environment is triggering reactions. Duct contents are one possible source, though not the only one.
What “cleaning” should not be confused with: Duct cleaning is not a fix for rooms that won’t heat or cool. If one room is always the wrong temperature, the problem is more likely airflow or insulation, not dust. Duct cleaning removes accumulated material. It does not fix structural problems, leaks, or design issues. Those require duct repair or HVAC service. A responsible contractor will tell you the difference.
When Duct Cleaning Reveals a Repair Problem
Cleaning and repair are not separate services. They’re sequential phases of the same job, which is why a full-system specialist approaches them together. Here’s what happens in practice: during a cleaning, the technician’s camera and brushes encounter structural problems that were invisible from outside the duct. Disconnected sections. Crushed flex runs. Gaps at register connections. Rusted joints. Damaged insulation.
A duct-cleaning-only company sees these problems and documents them in a report, then leaves. The homeowner now has a list of problems and must find another contractor to fix them. Air duct repair in Pocket is our second core service because we saw this pattern repeatedly. Homeowners were getting cleaning reports that said “recommend repair” but no path to actually getting the repair done. That’s why our service model is built around the concept that your duct system is only as clean as the repair it needs. A system with a disconnected return is not clean, regardless of how recently it was brushed, because it’s pulling unfiltered air from the attic. A system with crushed flex runs is not clean, because airflow can’t move through it properly. The cleaning and the repair are the same job.
Specific repair issues we find in Pocket homes:
- Flex duct sections that have pulled away from sheet metal collars in attic installations. This is often due to improper support or aging tape.
- Crushed or kinked flex duct where it passes through framing or around obstacles. A kink reduces airflow significantly and is invisible from the living space.
- Return ducts that have separated at joints, pulling attic air directly into the system. This is the most common cause of dirty ducts that get dirty again quickly after cleaning.
- Register boots that have come loose from the floor or wall opening, allowing conditioned air to escape into the wall cavity or crawlspace instead of the room.
Common Mistakes to Avoid
- Replacing the filter on a schedule without looking at it. A filter that’s heavily loaded at 30 days is diagnostic data. Throwing it away without noting the condition throws away information about your duct system.
- Sealing duct connections with duct tape. This fails within years and creates a false sense of security. The correct material is mastic sealant or UL-listed foil tape, applied by someone who knows how to prepare the surface.
- Ignoring the dryer vent because it’s outside the HVAC system. The dryer vent is a separate duct system that carries flammable lint. In Pocket homes with long vent runs, lint accumulation is a genuine fire risk. This vent needs professional cleaning on its own schedule.
- Assuming a visible stain around a register is a roof leak. In attic-installed duct systems, condensation from a damaged or missing duct insulation wrap often presents as ceiling staining near registers. The fix is a duct repair, not a roofer.
- Using a consumer drill with a brush attachment on ductwork. This damages flex duct interiors and disturbs debris without proper containment. What you dislodge often ends up in the room air, which is worse than leaving it alone.
- Thinking duct cleaning fixes temperature imbalance. Dust removal does not change airflow dynamics. A room that’s always cold or always hot has a delivery problem, not a cleanliness problem.
- Relying on memory instead of photos. Without a documentation habit, every inspection starts from zero. The photo record is what turns maintenance from guesswork into comparison.
See the difference
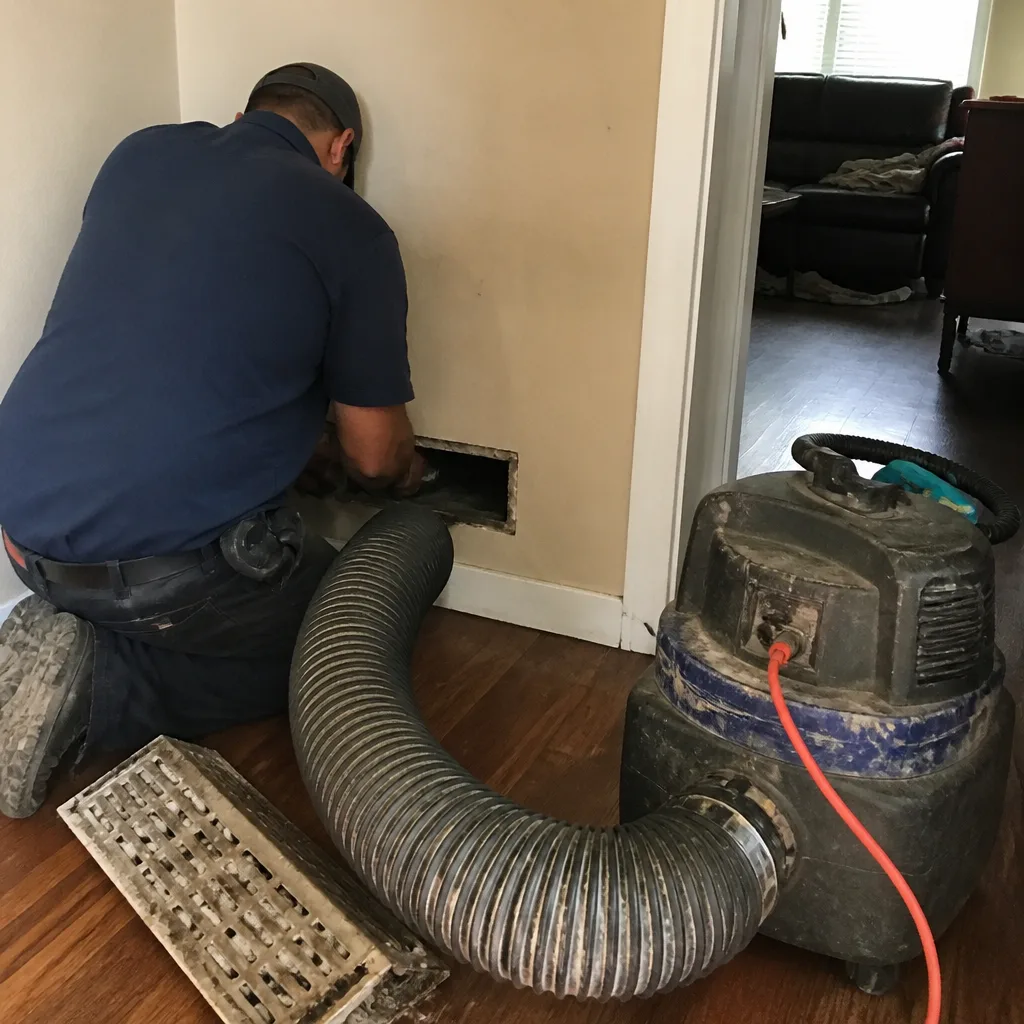 Before
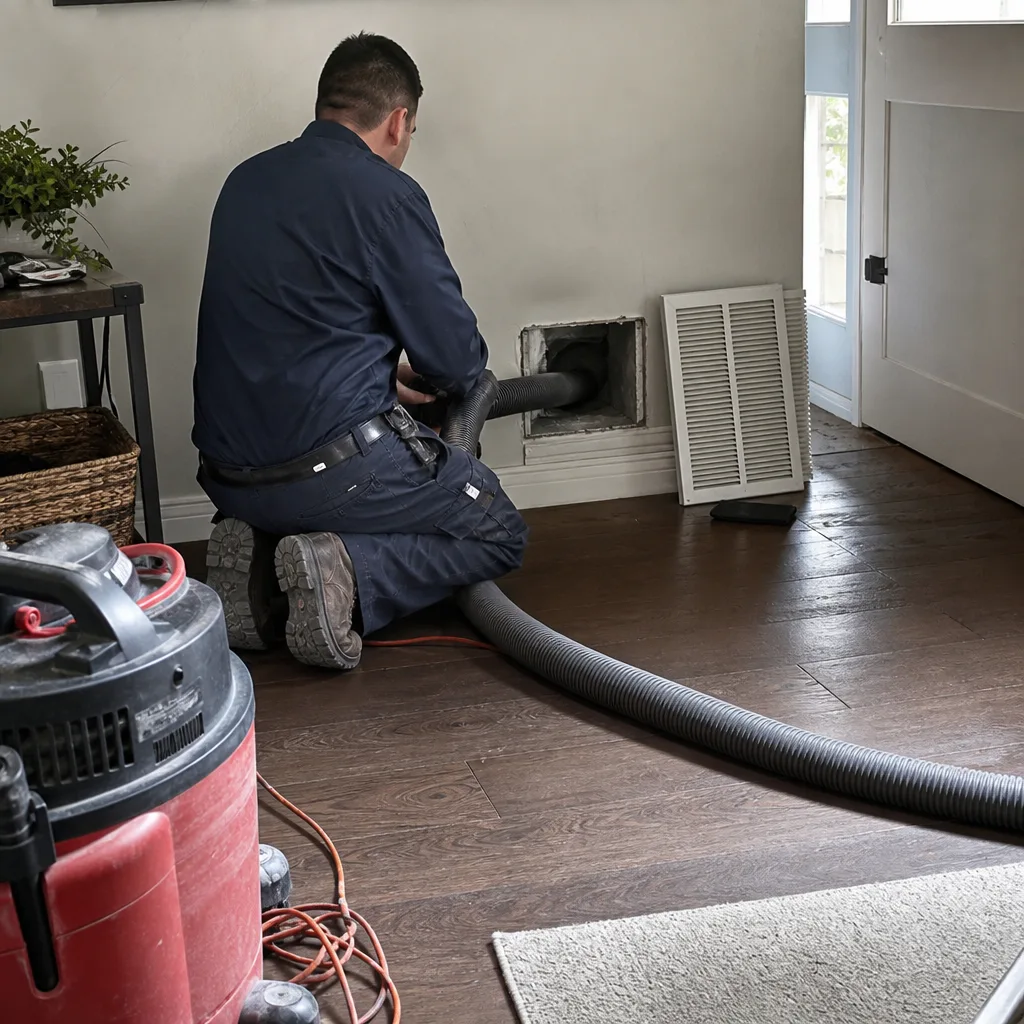 After
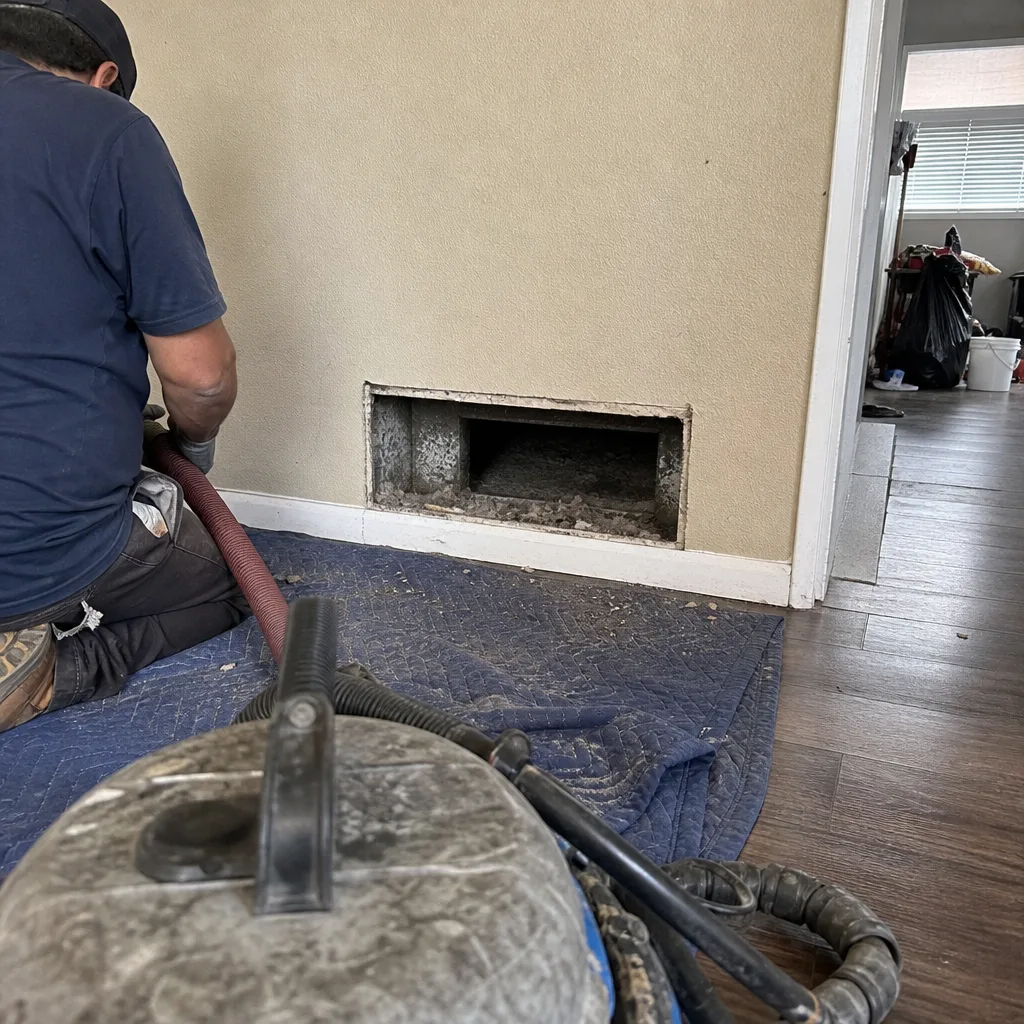 Before
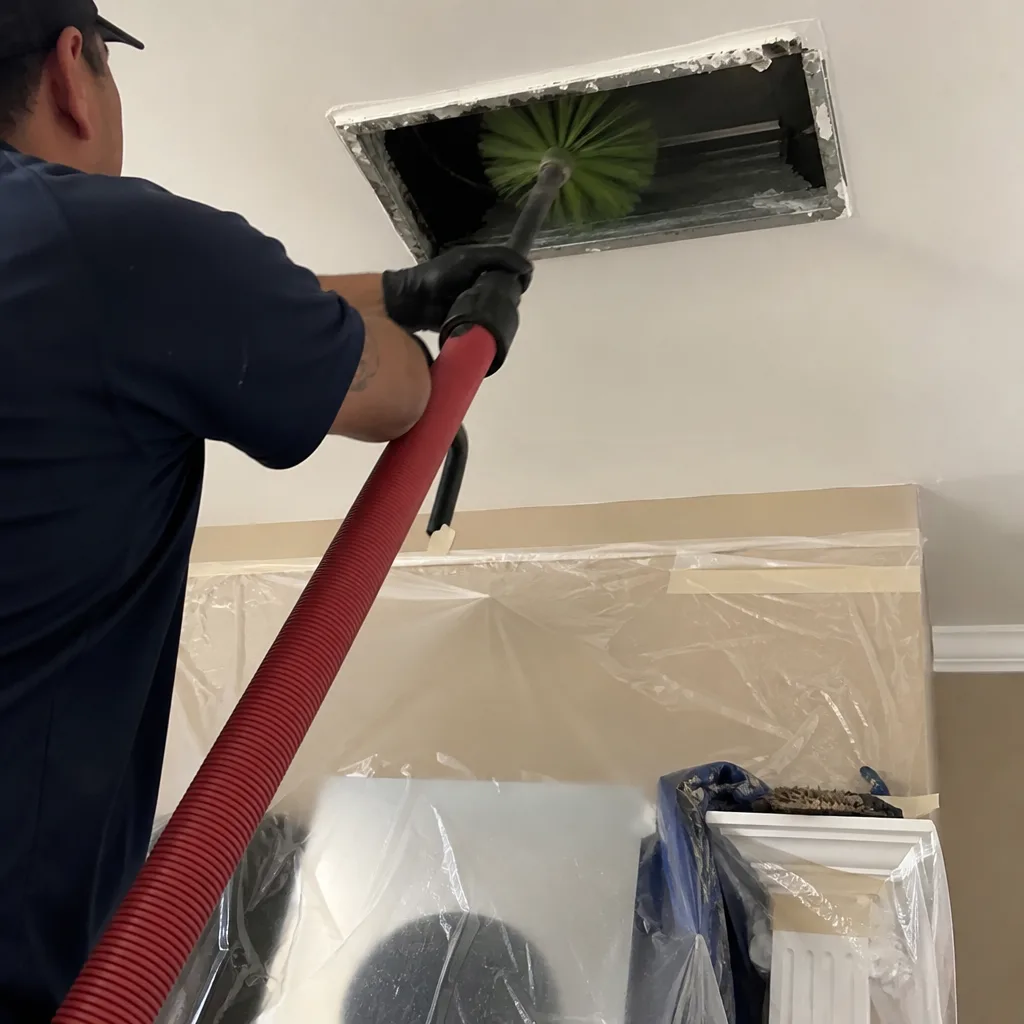 After
 Before
 After
When to Call a Professional
Call a professional when you see conditions you can’t explain or fix yourself. Visible mold growth inside ductwork requires a professional evaluation and is not a DIY situation. Pest activity in ducts is a health and sanitation issue that requires proper removal equipment and protective gear. A disconnected or crushed duct run requires tools and materials you likely don’t have. Persistent musty odors that don’t improve with filter changes point to moisture somewhere in the system. And if you’ve lived in your Pocket home for three or more years and have never had the ducts inspected by camera, that’s a reasonable interval to establish a baseline. Purevent Air Duct Cleaning offers free estimates in Pocket – call (877) 752-5088 for an assessment.
Frequently Asked Questions
Whole-system air duct cleaning in Pocket typically ranges from $450 to $1,100 for a standard single-family home, depending on system size, number of returns, and accessibility. That range covers professional rotary-brush contact cleaning with negative-air containment. Quotes below $300 for a whole-home cleaning are typically advertising for per-vent pricing that escalates once the technician arrives, or they’re vacuum-only services that don’t remove adhered debris. Our pricing is one flat rate per system, agreed before work starts. Call (877) 752-5088 for an exact quote.
Cheaper quotes in the Pocket market usually reflect different methods and different equipment. Vacuum-only cleaning pulls loose dust but doesn’t remove adhered debris. Blow-out methods use compressed air to push dust toward a vacuum, which often distributes fine particulates through the living space. Professional rotary-brush and negative-air equipment is expensive to own and operate, which is why the company with a $99 whole-home special is not using that equipment. The price difference is a method difference. Ask any contractor what equipment they use and whether they provide before-and-after camera photos of your own ducts.
Demand before-and-after photos of your own ductwork, taken with an interior camera system. Professional equipment includes inspection cameras that document the duct condition at the start and end of the job. If a company cannot or will not provide this, that’s a red flag. We provide these photos as standard practice on every cleaning, because a homeowner deserves visual proof, not verbal assurance. The photos show the interior surfaces, including the areas you cannot see from the registers.
Every 3 to 5 years for most Pocket homes is a reasonable interval. The variables are pets, wildfire smoke exposure, renovation history, and system age. Homes with multiple pets or a recent construction project may need cleaning more frequently. Homes with properly sealed ducts and effective filtration may go longer. The honest answer is that the interval depends on what’s happening in your specific house, which is why the observation habits in this guide matter more than any fixed schedule.
Yes, in specific circumstances. Ducts recirculate whatever is inside them. If your ducts hold accumulated dust, pet dander, or biological material, those particles get distributed through the house every time the system runs. The pattern to watch for is allergy symptoms that improve when you’re away from home and worsen when you return. This pattern suggests an indoor trigger, and duct contents are one candidate. Cleaning removes the accumulated material and provides a baseline for measuring whether symptoms change.
The dryer vent is a separate duct system from your HVAC ducts, but it’s a duct system with a more dangerous failure mode. Lint accumulation in dryer vents is a fire hazard, not just a performance issue. A clogged dryer vent also forces the dryer to work harder, which shortens the appliance’s life and increases energy use. Professional dryer vent cleaning uses rotary-brush equipment sized for the smaller diameter vent, reaching the full run from appliance to exterior vent. In Pocket homes where the dryer vent runs through a wall or crawlspace, this is not a DIY project.
The Bottom Line
A maintenance checklist isn’t about cleaning more. It’s about looking more carefully. The observation habits in this guide, the monthly room-by-room walkthrough, the filter diagnosis, the seasonal checks tied to Pocket’s fire and humidity cycles, the photo documentation, give you what most homeowners never develop: a baseline. Once you have a baseline, you stop guessing about your duct system and start knowing. You know when the return grille dust is abnormal. You know when the condensation streak is new. You know when airflow to the back bedroom changed. And when you do call a professional, either for Air Duct Cleaning in Pocket or a repair recommendation, you can hand them a record that makes their diagnosis faster and their work more precise. That’s the part that saves you money and protects the system. Observations are cheap. Failures are expensive.
Written by the team at Purevent Air Duct Cleaning, serving Pocket since 2017.